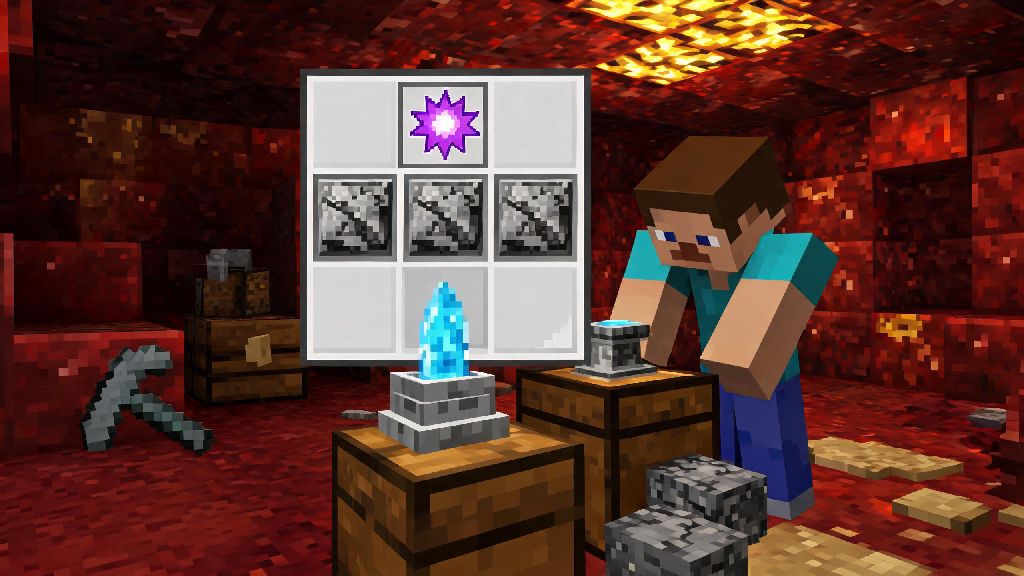
If you’ve spent hours grinding through the Nether, fighting off blazes and digging for ancient debris, you’ve probably wondered about the flashy, buff-giving blocks you’ve seen other players show off on multiplayer servers. If you’re asking how do you make a beacon on Minecraft, you’re in the right place. Beacons are one of the most rewarding late-game items you can craft, giving you permanent status effects across huge swathes of your base as long as you set them up correctly. I’ve built over a dozen beacons across my survival worlds, both for functional buffs and as glowing centerpieces for creative builds, so I’ve got all the small hacks and common mistakes to watch out for laid out below.
How Do You Make a Beacon on Minecraft: Exact Materials You’ll Need
Crafting a beacon itself only requires three core materials, though you’ll need extra mineral blocks to power it after you craft it. The three non-negotiable items for the beacon craft are: 1 Nether Star, 3 Blocks of Obsidian, and 5 Blocks of Glass. The Nether Star is the hardest item to get, as it only drops when you kill the Wither, a boss mob you summon by placing three Wither Skeleton Skulls on top of a T-shaped arrangement of Soul Sand or Soul Soil. Obsidian is far easier to source: just pour water over a pool of lava, and mine the resulting block with a Diamond or Netherite Pickaxe. Glass is made by smelting any type of sand in a furnace, so you can stock up on that early in your playthrough. If you’re playing in Creative Mode, you don’t have to gather these materials at all—you can grab a beacon directly from the creative inventory whenever you want.
Step-by-Step Beacon Crafting and Placement Walkthrough
Once you have all your materials, head to a Crafting Table to put your beacon together. Arrange the 3 Obsidian Blocks along the entire bottom row of the crafting grid, place the 5 Glass Blocks in all the slots of the top two rows except the very center, then drop the Nether Star in the middle slot. That’s all it takes to get your basic beacon item. Now that you’ve answered the core question of how do you make a beacon on Minecraft, the next step is setting up its power source correctly. Beacons only work when placed on top of a pyramid made of valid mineral blocks: Iron Blocks, Gold Blocks, Diamond Blocks, Emerald Blocks, or Netherite Blocks all work exactly the same for power, so pick whichever you have the most of. Always place the beacon dead center on the top of your pyramid—if it’s even one block off center, it won’t activate at all. You can build 4 different pyramid sizes, each with a different range and number of available buffs: 1-level (3x3 base) gives 20 block range and 1 buff, 2-level (5x5 base plus 3x3 top) gives 30 block range and 2 buffs, 3-level (7x7 base plus lower layers) gives 40 block range and 3 buffs, 4-level (9x9 base plus all lower layers) gives 50 block range, all 5 buffs, plus extra regeneration. Make sure there are no opaque blocks blocking the beacon’s line of sight to the sky, or it will shut off immediately. Glass and tinted glass are fine to place above the beam, though, if you want to cover the beacon for aesthetic reasons.
All Valid Beacon Buffs and How to Pick the Right One for Your Base
Once your beacon is activated, you can select which buff it applies to all players within its range. You’ll have to trade one small mineral item (Iron Ingot, Gold Ingot, Diamond, Emerald, or Netherite Ingot) to change the buff, but it’s a tiny cost for the perks you get. The full list of available buffs includes:
You don’t have to stick with one buff forever—if you’re working on a big building project one week, swap to Haste to speed up block placement, then switch to Resistance if you’re hosting a PvP event with friends the next. If you’re playing Java Edition, you can even select a secondary buff once you have a full 4-level pyramid, so you can run both Haste and Speed at the same time for maximum building efficiency.
Common Beacon Mistakes to Avoid for First-Time Builders
Even if you’ve nailed the steps for how do you make a beacon on Minecraft, small errors can stop it from working entirely, and I’ve made almost all of them myself over the years. The most common mistake new players make is using the wrong blocks for their pyramid. Blocks like cobblestone, wood, stone bricks, or deepslate don’t count as valid mineral blocks, so even if you build a 10-story pyramid out of cobblestone, your beacon won’t turn on. Stick to the 5 valid mineral blocks we listed earlier to avoid wasting time. Don’t waste rare mineral blocks on your pyramid unless you want to—Iron Blocks work exactly the same as Netherite Blocks for powering beacons, so there’s no reason to burn through your hard-earned Netherite just for a pyramid unless you’re going for a specific aesthetic look. I once used 164 Gold Blocks for a beacon pyramid back when Gold was far harder to farm, and later realized I could have used Iron for the exact same effect, so don’t make that same mistake. Another common error is blocking the beacon beam with opaque blocks. If you build a roof over your beacon or put a solid block directly above it, it will deactivate right away. If you want to cover the beacon to protect it from explosions or bad weather, use glass blocks instead, as they don’t block the beam at all. Finally, don’t forget that you can dye the beacon beam any color you want by placing stained glass above the beacon. It’s a small touch that makes beacons amazing decorative landmarks for large survival worlds.
Once you get the hang of the recipe and placement rules, figuring out how do you make a beacon on Minecraft is way less intimidating than it seems at first. Even a small 1-level beacon for Haste can cut down your building and mining time significantly, so it’s well worth the effort of fighting the Wither to get that Nether Star. Experiment with different pyramid materials and buff combinations to fit your specific world needs, and don’t be afraid to use beacons as decorative centerpieces too—their customizable colored beams make amazing landmarks that you can spot from miles away across your world.