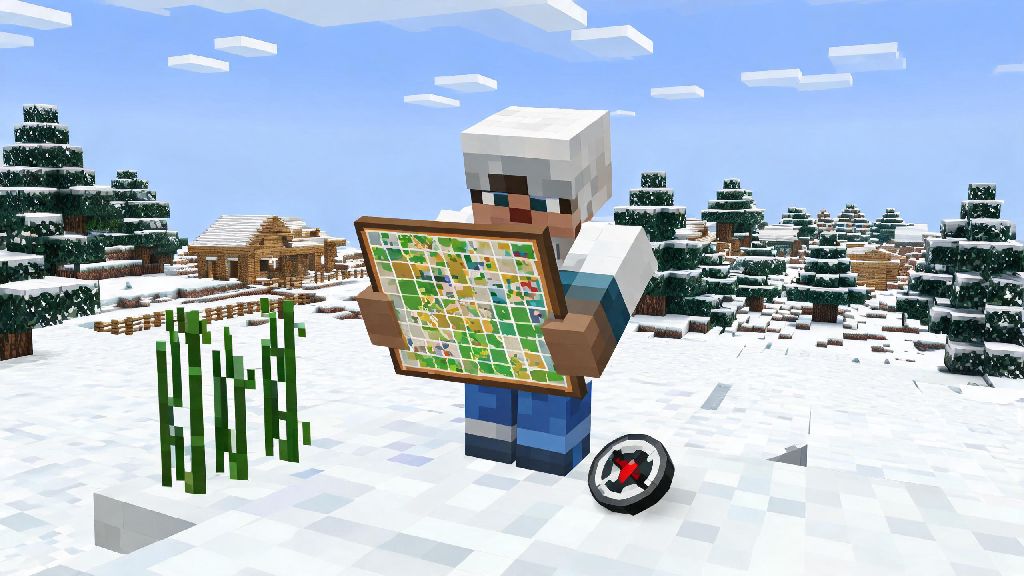
If you’ve ever trekked 30 minutes across a tundra to find a village, only to get turned around on the way home and lose your base entirely, you know exactly why maps are one of the most useful items in Minecraft. No more guessing which direction your shelter is, or wasting hours retracing your steps when you get lost. If you’re wondering how do you make a map in Minecraft, this guide breaks down every step, from gathering early-game materials to customizing maps for everything from survival runs to creative art projects.
How Do You Make a Map in Minecraft: Core Crafting Steps for Vanilla Gameplay
First, you’ll need to gather the right materials for a standard empty map, which works for both Java and Bedrock editions of the game. You’ll need 8 pieces of paper and 1 compass to craft your base map. Paper is made from 3 sugar cane, which you can find growing next to rivers, lakes, and ocean shores across almost every biome. You’ll need 9 total sugar cane to make 9 pieces of paper, so you’ll have one left over for later adjustments.
For the compass, you’ll need 4 iron ingots and 1 piece of redstone dust. Iron is easy to find below Y level 64, while redstone spawns below Y level 16, so you’ll need to do a little mining before you can craft your first map in survival mode. Once you have all your materials, just place the compass in the center slot of a 3x3 crafting table, and fill the remaining 8 slots with paper to get your empty map.
You don't need a compass for maps in Creative mode, since you can pull empty maps directly from your creative inventory without crafting anything. That means you can skip the mining step entirely if you’re just building in creative and want to map out your build area.
How to Customize and Expand Your Minecraft Map for Better Navigation
Once you know how do you make a map in Minecraft, customizing it to fit your needs is just as straightforward. Once you have your empty map, you’ll need to activate it to start drawing terrain. Just hold the map in your main hand and right click (or press the use action button on console or mobile) while standing above ground under open sky. The map will immediately start filling in with the terrain of the 128x128 block area around you.
If you want to cover a larger area, you can zoom out your map up to 4 times by combining it with 8 more pieces of paper in a crafting table or cartography table. Each zoom level quadruples the area your map covers, so the maximum zoom level 4 map covers a 2048x2048 block area, which is big enough to map entire continents.
You can also add custom markers to your map to keep track of important locations. All you have to do is place a banner anywhere in your world, name it with an anvil if you want a custom text label, then hold your map and right click the banner. The banner will show up as a colored marker on your map, perfect for marking bases, villages, ancient cities, or even hidden diamond veins. If you’re using a cartography table, you can also rename your map to match the area it covers, so you don’t mix up your forest map and your desert map when you’re sorting through storage.
Common Mistakes to Avoid When Working With Minecraft Maps
Even experienced players make mistakes with maps that waste resources or leave them lost. I’ve messed up enough maps over my 10 years playing Minecraft to know exactly what pitfalls to watch out for:
Locking your map is a simple step that solves most accidental map issues. All you need is a single glass pane and a cartography table. Place your map in the top slot and the glass pane in the bottom slot, and you’ll get a locked version of your map. Locked maps won't update even if the terrain changes, which is perfect if you want to keep a record of your base before a big rebuild, or avoid accidentally expanding your map's coverage when you travel.
If you’re playing with friends on a server, you can also make copies of your completed map by placing the original map and as many empty maps as you want in a crafting table. Copied maps share all markers and terrain data from the original, so you don’t have to each spend hours mapping the same area separately. That’s a huge time saver for large server communities that want shared navigation tools for new players.
Creative Ways to Use Maps Beyond Basic Navigation
Maps aren’t just for finding your way home. Once you get the hang of making and customizing them, you can use them for a ton of fun creative projects in both survival and creative mode. One of the most popular uses is wall maps for your base. Place item frames on a large blank wall, and hang adjacent maps in the right order to make a full, giant map of your entire world. It’s a great way to show off how much you’ve explored, and makes it easy to plan future exploration trips.
You can also make custom map art, which is a super popular decoration trend. To make map art, you place blocks in a specific 128x128 pattern on a flat surface, then activate a map over that area. The map will show the pattern as a pixel art image, which you can hang on your wall or even trade with other players on servers. Map art is one of the most underrated decoration options for both survival and creative builds, and you can make everything from game logos to custom portraits with enough patience.
If you like making custom content for other players, you can also use pre-made maps to guide players through adventure maps, mark quest locations, or point out hidden loot chests. On roleplay servers, maps are often used to mark kingdom borders, trade hubs, and safe zones to help new players get acclimated faster. You can even use locked maps as in-game props for roleplay scenarios, like old treasure maps or kingdom boundary deeds.
At the end of the day, whether you’re a new survival player just trying to find your way back to your first dirt hut or a seasoned creative builder making intricate map art for a server, knowing how do you make a map in Minecraft opens up a ton of new possibilities. I still have the first crumpled low-zoom map I made in my oldest survival world, hanging on the wall of my netherite base next to all the expanded maps I’ve made over years of exploring. It’s a fun little reminder of how far I’ve come in that world, and how much easier the game got once I stopped wandering around blindly. Next time you head out to explore a new mushroom biome or track down a nether fortress, grab a couple extra empty maps and a stack of paper before you leave. You won’t regret not having to cut your trip short to run back to base for more crafting supplies.