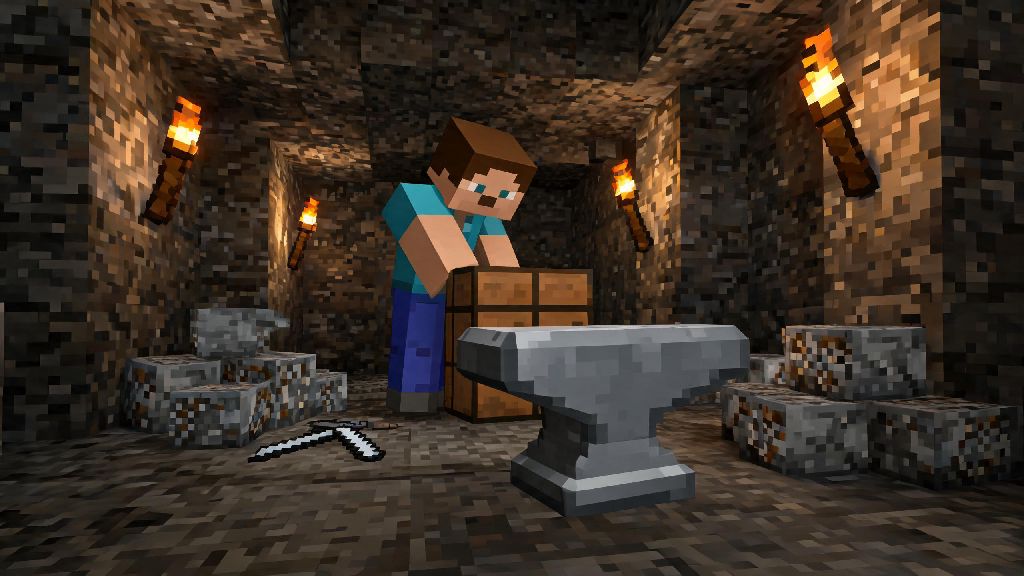
If you’ve ever spent hours digging for diamonds only to have your enchanted pickaxe break mid-cave expedition, you know how gutting it is to lose high-tier gear you worked so hard for. That’s where the anvil comes in: it’s one of the most useful utility blocks in the game, letting you repair, rename, and combine enchantments on all your best items. If you’re wondering how do you make an anvil in Minecraft, this guide walks you through every step, plus pro tips to get the most out of this block once you craft it.
Required Materials for Crafting a Minecraft Anvil
You don’t need rare nether drops or hard-to-find loot to make an anvil, but you will need to spend a fair bit of time mining iron, since it uses a large amount of this common resource. Unlike many utility blocks, the anvil recipe is identical across Java and Bedrock editions, so these materials work for both versions of the game. You don’t need any extra tools or special stations beyond a standard crafting table, either.
That adds up to 31 iron ingots total for one anvil, which sounds like a lot, but it’s worth every bit of iron you spend. If you’re early in your survival world, you might want to hold off on crafting an anvil until you have a steady iron farm or at least a few stacks of ingots stored up, so you don’t leave yourself short for tools or armor when you need them most.
Exact Steps for How Do You Make an Anvil in Minecraft
Once you have all your materials gathered, the crafting process is super straightforward, even for total beginners. First, open your crafting table to pull up the 3x3 grid. If you’re on Java edition, you can place the items in any order as long as the shape is right, but Bedrock edition follows the exact recipe placement we’ll outline here, so it’s best to stick to this layout no matter which version you play. If you've been asking how do you make an anvil in Minecraft for your first survival base, this process takes less than a minute once you have all the materials gathered.
Start by placing your three blocks of iron in the entire top row of the crafting grid. Make sure each slot in the top row has one iron block, no gaps. Next, place one iron ingot in the very center slot of the middle row. Then fill the entire bottom row with one iron ingot each – that’s three ingots for the bottom, plus the one in the middle, for a total of four.
Once you place all the items correctly, the anvil icon will pop up in the result slot to the right of the grid. Click it to move it to your inventory, and you’re all set. You don’t need any extra tools or crafting stations to make this work, and the recipe works the same in both survival and creative mode, though you won’t need to gather materials if you’re playing creative. Pro tip: If you’re playing on a server with custom recipes, double-check the server’s wiki first, since some modded or custom servers change the anvil recipe to make it either more or less resource-heavy.
Top Uses for Your Newly Crafted Anvil
A lot of new players craft an anvil just to repair gear, but it has way more uses than that, and it’s one of the most versatile utility blocks in the entire game. You can use it for everything from customizing your items to combining powerful enchantments that you can’t get from an enchantment table alone. You don't have to be a late-game player to get value out of it either – even mid-game players can benefit from learning how do you make an anvil in Minecraft and using it to preserve their first set of diamond gear.
First, the most common use is repairing your tools, weapons, and armor without losing their enchantments. If you use a crafting table to repair a diamond pickaxe with Sharpness V, you’ll lose that enchantment entirely, but repairing it on an anvil lets you keep all existing enchants, as long as you have enough experience levels to cover the cost. Each repair costs between 1 and 30 experience levels, depending on how damaged the item is and how many enchants it has, so make sure you’ve grinded a bit at a mob farm before you try to repair high-tier gear.
You can also use the anvil to combine enchanted books with tools or armor, or combine two enchanted items of the same type to merge their enchants. For example, if you have one diamond sword with Sharpness III and another with Unbreaking II, combining them on an anvil will give you one sword with both enchants, plus a small durability boost. You can also rename any item for a small experience cost, which is great for marking custom gear, naming pets, or even making funny custom items to give to friends on multiplayer servers. Renaming a totem of undying is a fun way to make it feel more personal, and it won’t impact its ability to save you from death.
Common Anvil Mistakes to Avoid (and How to Fix Them)
Even if you know how to craft and use an anvil, there are a lot of common mistakes new players make that waste experience, resources, or even destroy high-value items. The first mistake most people make is ignoring the “too expensive” warning that pops up when you try to modify an item that’s been enchanted or repaired too many times. Each time you use an anvil on an item, its “anvil use” count goes up, and after 6 uses, it will become too expensive to modify in a standard survival world. The only way to avoid this is to combine enchants on books first before adding them to your final gear, instead of adding enchants one by one to the tool or armor itself. That way, you only use one anvil use on the final item instead of multiple.
Another common mistake is placing your anvil too high up, or letting it fall on mobs or players. Anvils are affected by gravity, just like sand or gravel, so if you place it on a block that gets broken, it will fall and deal damage to anything it hits. It can even destroy some blocks if it falls far enough, so don’t place it above your storage chests or your base’s floor if you don’t have a solid block under it. Some players actually use this quirk to make anvil-based mob farms, which work great for passive mob grinding without using too many resources.
You also might not know that anvils take damage over time, just like tools. Each time you use it, there’s a 12% chance it will take a small amount of damage, and it will break after about 25 uses on average. You can’t repair an anvil once it’s damaged, so you’ll have to craft a new one when it breaks. If you see your anvil looking cracked or chipped, it’s a sign it’s close to breaking, so you might want to gather extra iron to make a replacement soon.
Now that you know how do you make an anvil in Minecraft, you can start upgrading your gear, saving your best enchanted tools from breaking, and customizing all your items to fit your playstyle. It might take a bit of iron to craft your first one, but the time and resources you save from not having to remake enchanted gear more than makes up for the initial cost. If you’re playing in a new survival world, add an anvil to your list of early-to-mid game priorities, right after you get your first diamond tools and build a basic mob farm for experience.