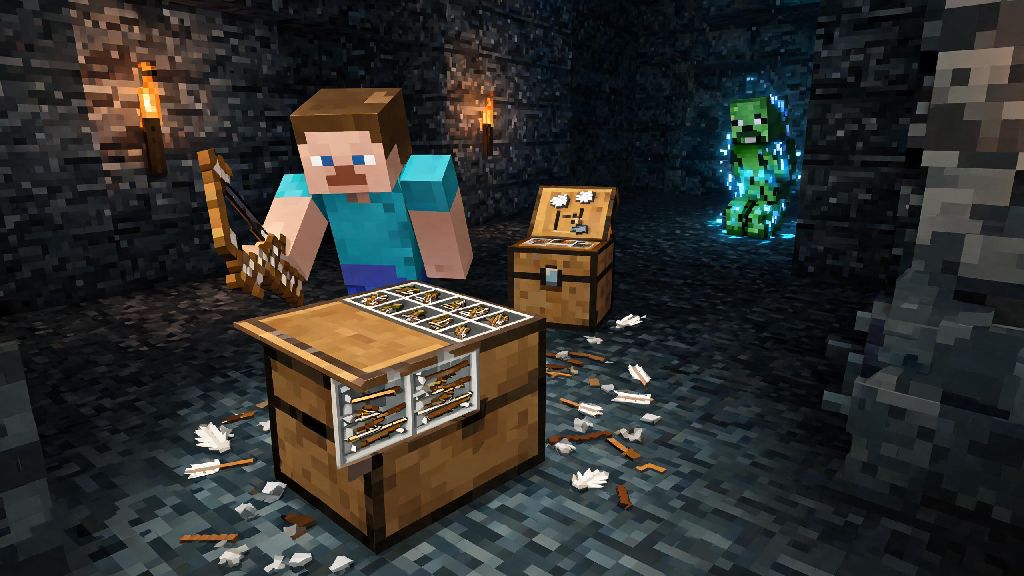
There’s no worse feeling in Minecraft than rounding a corner in a dark cave, coming face to face with a charged creeper, reaching for your bow, and realizing you’re out of ammo. Even if you prefer close combat most of the time, a reliable supply of arrows is non-negotiable for tackling boss fights, fending off raiders, or winning PvP matches on public servers. If you’ve been wasting hours looting skeletons for random ammo drops, learning how to craft arrows in Minecraft will save you tons of time and keep you prepared for every surprise the game throws at you. This guide breaks down everything you need to know, from basic crafting recipes to pro tricks for getting the most out of every arrow you make.
Basic Materials You Need to Craft Arrows in Minecraft
The base recipe for standard arrows only requires three common materials, most of which you probably already have lying around your base. You’ll need one flint, one stick, and one feather per craft, which yields four standard arrows total. If you’re just starting out, you can gather all three materials in your first few days of survival mode without any special tools.
Flint drops from gravel blocks with a 10% chance each time you break one, and you can boost that drop rate significantly with enchanted tools. Always use a Fortune III enchanted shovel when digging gravel to get up to four pieces of flint per block, cutting your farming time by more than half. Sticks are as simple as crafting two wooden planks stacked vertically, and you can get feathers by killing chickens, which spawn in almost every grassy biome in the game. Even if you don’t have a chicken farm set up yet, you can easily get enough feathers for a few stacks of arrows by roaming a nearby forest for 10 minutes.
Step-by-Step Crafting Process for Basic and Specialized Arrows
Crafting basic arrows is super straightforward once you have your materials gathered. Open your 3x3 crafting table grid, place your flint in the top middle slot, your stick directly below it in the center slot, and your feather in the bottom middle slot. You’ll see four arrows pop up in the result slot, which you can move to your inventory. That’s all there is to the base recipe, but you can also craft specialized arrows that add status effects for extra utility. Even if you know how to craft arrows in Minecraft, these specialized variants open up a whole new level of combat and exploration utility.
Spectral arrows are the first specialized type most players unlock, and they’re incredibly useful for tracking teleporting mobs or hidden enemy players. To make them, place a standard arrow in the center of your crafting grid, then surround it with four glowstone dust in the up, down, left, and right slots. That craft gives you 10 spectral arrows, which mark any target they hit with a glowing outline for 10 seconds, even through solid blocks. They’re perfect for fighting endermen that keep teleporting out of your line of sight, or for calling out hidden opponents in team PvP matches.
Tipped arrows apply the effect of a lingering potion to any target they hit, and they’re game-changing for boss fights and high-stakes PvP. To make them, place one lingering potion in the center of your crafting grid, then surround it with 8 standard arrows. You’ll get 8 tipped arrows of the same effect as the potion, so you don’t waste valuable brewing materials. Some of the most useful tipped arrows to prioritize crafting include:
Pro Tips to Save Resources and Maximize Arrow Efficiency
Crafting arrows is cheap, but you can cut your resource costs even more and stretch your ammo supply a lot further with a few simple tricks. If you use a bow enchanted with Infinity, you only need one standard arrow in your inventory to shoot infinitely, no crafting required. Just keep in mind that Infinity doesn’t work with spectral or tipped arrows, so you’ll still need to craft those separately if you want to use them.
You can pick up most arrows you shoot as long as they don’t break on impact with hard blocks or get destroyed by lava or fire. If you’re fighting mobs in an enclosed cave or base, you can collect 70 to 80% of your arrows back after the fight, which saves you from having to craft new stacks every time you go exploring. I always do a quick sweep of the area after a mob fight to pick up loose arrows, and I rarely have to craft more than one stack of basic arrows per week of regular play.
If you want to skip crafting entirely, build a skeleton spawner farm. Skeletons drop 0 to 2 arrows when killed, plus bones you can use for bonemeal for your crops or tree farms. Skeleton spawner farms are the most low-effort way to get unlimited arrows if you don’t want to spend time gathering flint and feathers. All you need to do is light up the area around the spawner, build a collection chamber, and wait for skeletons to spawn and fall to their death, leaving their drops for you to pick up.
Another quick tip: save your tipped arrows for high-stakes fights only. Don’t waste a Harming II arrow on a basic zombie, because that’s throwing away valuable nether wart and glowstone you could use for more important fights. Use basic arrows for regular mobs, and keep your specialized arrows in a separate hotbar slot for bosses or PvP encounters. Even if you have a huge stock of brewing materials, it’s still not worth wasting rare effects on low-value targets.
Common Mistakes to Avoid When Crafting and Using Arrows
Even though crafting arrows is simple, a lot of new players make small mistakes that waste resources or leave them without ammo when they need it most. A lot of players who are still learning how to craft arrows in Minecraft mix up the recipe order their first few tries, so don’t feel bad if you make that mistake too. If you put the feather on top and flint on the bottom, the recipe won’t work, so double check the order if you’re not getting arrows in the result slot.
Another common waste of resources is crafting dozens of tipped arrows for effects you’ll never actually use. Night vision arrows, for example, are almost completely useless, since you can just drink a night vision potion that lasts for 10 minutes instead of wasting lingering potions on single-use arrows. Stick to crafting small batches of the 4 types we listed earlier, and only make more when you run out.
Never use tipped arrows with an Infinity enchanted bow, because the Infinity effect doesn’t apply to specialized arrows. They’ll get consumed just like they would with a regular bow, so you’re throwing away valuable brewing materials for no reason. Always switch to a regular unenchanted bow or crossbow when you’re using tipped or spectral arrows.
Don’t make the mistake of only carrying one arrow with you even if you have Infinity on your bow. Bows can break mid-fight if they run out of durability, and crossbows don’t work with the Infinity enchantment at all. I always keep at least one full stack of basic arrows in my inventory even when I’m using my Infinity bow, just in case my bow breaks or I need to switch to my crossbow for long-range shots.
One last mistake to avoid: shooting arrows near lava or open fire. Arrows that land in lava or fire burn up instantly, so you can’t collect them back, and you risk wasting even specialized arrows if you miss your shot. If you’re fighting blazes or magma cubes in the Nether, stand back at least 10 blocks from any lava pools to avoid losing your ammo. I once lost a full stack of Harming II arrows that way, and I’ve never made that mistake again.
Once you get the hang of how to craft arrows in Minecraft, you’ll never be caught off guard by a random creeper, raider party, or enemy player ever again. You can start with the basic recipe to build up a stock of standard ammo for regular use, then branch out to specialized tipped and spectral arrows as you gather more brewing and glowstone resources. Adjust your arrow loadout based on what you’re doing for the day: bring extra slow falling arrows if you’re building a tall base, pack Harming II arrows if you’re heading to the End to fight the Ender Dragon, and keep a stack of weakness arrows on hand if you’re curing zombie villagers for your trading hall. With a little planning, you’ll never run out of ammo no matter what the game throws at you.