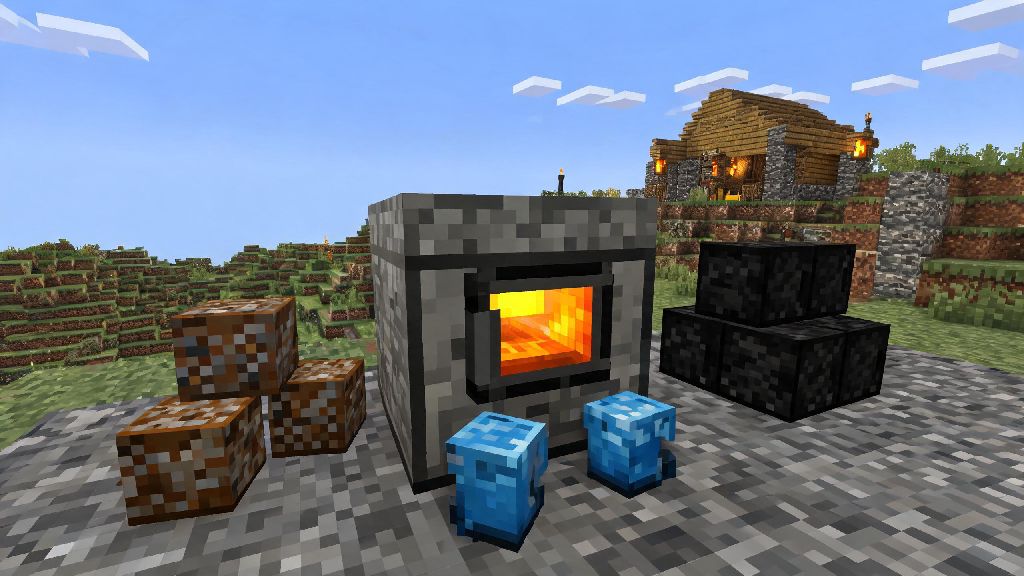
If you’ve ever spent 10 minutes waiting for a stack of iron ore to smelt in a regular furnace while a horde of creepers lurks outside your base, you know how frustrating slow smelting can get in Minecraft survival. Learning how to make a blast furnace in Minecraft is one of the most game-changing upgrades you can make for your mid-game base, cutting smelting time in half for ores, armor, and tools made of metal. I’ve been playing Minecraft survival for over 8 years, and I never move past the iron age without building at least two of these bad boys to keep up with my mining runs. In this guide, we’ll cover everything you need to gather, craft, and use your blast furnace correctly, no fancy mods or creative mode hacks required.
How to Make a Blast Furnace in Minecraft: Required Materials
Before you can craft your blast furnace, you’ll need to gather four key components, most of which are easy to find once you have a basic iron pickaxe and access to a stone cutter. I recommend gathering extra of each material if you plan to build multiple blast furnaces for different areas of your base, like a mining outpost or dedicated smelting room. Here’s exactly what you’ll need:
You don’t need a crafting table with a special upgrade to make the blast furnace, either. A standard 3x3 crafting table works for this recipe, so you can craft it as soon as you have all the materials, even if you’re still working out of a temporary survival base. Pro tip: If you’re playing on a server with other players, mark the location of your smooth stone stash, because it’s easy to mix up with regular stone when you’re in a hurry.
Step-by-Step Crafting and Placement Tips
Once you have all your materials gathered, learning how to make a blast furnace in Minecraft takes less than 30 seconds. Open your crafting table, and place the items in the following pattern: put the regular furnace in the center slot, place the 5 iron ingots in the top three slots and the left and right middle slots, then fill the bottom three slots with your 3 smooth stone. If you placed the items correctly, the blast furnace will pop up in the result slot on the right.
So placement is just as important as the crafting process, because you’ll get the most use out of it if you put it in a high-traffic area of your base. I always place mine right next to my regular furnaces and chests full of raw ore, so I don’t have to run back and forth between storage and smelting stations. You can place a blast furnace on any solid block, and it will face you when you place it, just like a regular furnace. If you want to change the direction it faces, just right click it with an empty hand while you’re standing on the side you want it to face.
Never place a blast furnace directly on top of a chest you use for regular storage, because if you add a hopper later, it might accidentally pull all your stored items into the furnace and burn them. One common mistake new players make is placing blast furnaces right next to each other without leaving space for hoppers. If you plan to automate your smelting later, leave at least one block of space between each blast furnace to fit hoppers that feed ore and fuel into the top and sides, and pull finished ingots out the bottom. You’ll thank yourself later when you don’t have to tear down your entire smelting room to add automation.
How to Use Your Blast Furnace for Maximum Efficiency
A lot of new players think the blast furnace works exactly like a regular furnace, but there are key differences that will save you a ton of time and fuel if you know them. First, the blast furnace only smelts metal ores, raw metal blocks, and metal tools/armor. You can’t use it to smelt food, glass, or cobblestone, so don’t waste your coal trying to cook steak in it. That’s why I always keep a mix of regular furnaces and blast furnaces in my smelting room, so I can handle different types of smelting at the same time.
The biggest benefit of the blast furnace is that it smelts items twice as fast as a regular furnace, which means you’ll go through fuel twice as fast too. I recommend using lava buckets as fuel for blast furnaces whenever possible, because one lava bucket can smelt 100 items, which is way more efficient than coal or charcoal. If you don’t have access to lava yet, dried kelp blocks are the next best option, since they’re easy to farm in large quantities near ocean biomes.
You can also use a blast furnace as a job site block for villagers, if you’re building a villager trading hall. Place a blast furnace near an unemployed villager, and they’ll turn into an armorer, who sells enchanted diamond armor, iron tools, and even netherite upgrades at higher levels. I usually build an extra blast furnace specifically for my villager trading area, so I don’t have to shut down my main smelting line to reset villager trades.
One fun trick I discovered a few years ago is that you can use a blast furnace to quickly turn unwanted metal armor and tools from mob drops into ingots. If you have a stack of damaged iron swords from zombie fights, throw them in the blast furnace and you’ll get iron nuggets back, which you can turn into ingots to reuse. It’s a great way to cut down on waste, especially if you’re running low on iron for building projects.
Common Blast Furnace Mistakes to Avoid
Even if you follow the crafting recipe exactly, there are a few common mistakes that can make your blast furnace feel useless, or even cause you to lose resources. The first mistake I see all the time is players trying to smelt ancient debris in a blast furnace. Ancient debris only smelts in a regular furnace or a smoker, so don’t waste your time throwing it in a blast furnace, it won’t work. I learned this the hard way when I spent 2 hours mining ancient debris in the nether, only to realize I left it sitting in a blast furnace for 20 minutes and it didn’t smelt at all.
Another mistake is forgetting that blast furnaces give off light, just like regular furnaces. That’s actually a bonus if you’re building a smelting room, because you won’t need to place extra torches to stop mobs from spawning. But if you’re building a hidden base or a redstone contraption that relies on low light levels, don’t place a blast furnace near it, because it will give off a light level of 13, which is bright enough to mess with most redstone sensors.
Finally, don’t break your blast furnace with a wooden pickaxe or your hand. You’ll only get it back as an item if you break it with a stone pickaxe or better. If you break it with a weaker tool, it will disappear entirely, and you’ll have to craft a new one from scratch. I keep a spare iron pickaxe in my smelting room specifically for moving furnaces and blast furnaces around, so I don’t accidentally lose them when I’m rearranging my base.
At the end of the day, upgrading your base with a blast furnace is one of the easiest ways to speed up your survival progress and spend less time waiting for smelting to finish. Whether you’re gearing up for a nether run, building a villager trading hall, or just trying to process a huge stack of iron ore from your latest mining trip, this simple block will save you hours of time in the long run. Now that you know how to make a blast furnace in Minecraft, grab your pickaxe, gather the required materials, and build one for your base this playthrough – you won’t regret it.