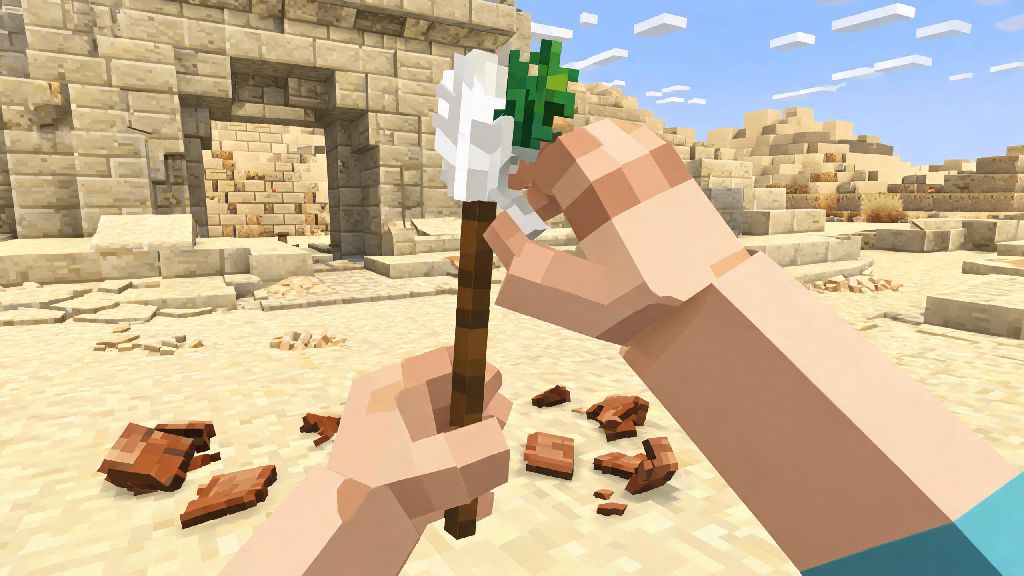
The Trails & Tales update brought tons of fun new mechanics to Minecraft, and archaeology is easily one of the most popular additions for both casual and veteran players. If you’ve ever stumbled on suspicious sand near a desert temple, hit it with a shovel, and got nothing but regular sand in return, you already know you’re missing a key tool to unlock hidden loot. Learning how to make a brush in Minecraft is the only way to get rare pottery shards, sniffer eggs, and exclusive decorative items you can’t find anywhere else in the game. Best of all, it’s incredibly easy to craft even for brand new players, with no rare or hard-to-find materials required.
What You Need to Craft a Brush in Minecraft
Unlike high-level tools like netherite pickaxes or enchanted swords, a brush only requires three basic materials that most players can get within the first few days of a new survival playthrough. You don’t need to explore the nether or fight any boss mobs to collect the supplies, so you can make your first brush almost as soon as you build a crafting table. The full list of required materials, plus where to find each, is below:
Many new players mistakenly think copper is a rare resource, but it’s actually one of the most common ores in the overworld, so you won’t have to dig for hours to get the single ingot you need. Even if you’re playing on peaceful difficulty, you can collect all three materials without fighting any hostile mobs, so there’s no barrier to making a brush early on.
Step-by-Step Crafting Process for a Minecraft Brush
The brush uses a simple shaped crafting recipe, so you’ll need a 3x3 crafting table to make it, instead of the small 2x2 grid in your personal inventory. If you don’t already have a crafting table, you can make one with four wooden planks of any type, which takes less than a minute to put together. Once you have your crafting table set up, follow these simple steps to make your brush:
First, right click on your crafting table to open the 3x3 grid. Place the feather in the top slot of the middle vertical column. Next, put the copper ingot directly below the feather, in the center slot of the entire grid. Finally, place the stick directly below the copper ingot, in the bottom slot of the middle vertical column. You’ll see a brush appear in the result slot on the right side of the grid, and you can drag it to your inventory to start using it right away.
You don’t need to enchant your brush for regular use, since it has 64 points of durability, meaning it can clean 64 suspicious blocks before breaking. That’s more than enough for most single dig sessions, and you can easily make a backup brush if you’re planning a long trip to explore multiple archaeology sites. Unbreaking enchantments do work on brushes, but they don’t extend the durability enough to be worth spending experience points on for most players.
Fun Ways to Use Your Brush Beyond Archaeology
Most players only use their brushes to clean suspicious sand and gravel for archaeology loot, but the tool has tons of other fun uses for both survival and creative mode play. For creative builders, brushes are a great way to add realistic texture to custom builds: you can use them to create weathered stone walls, worn terracotta roof tiles, or soft sandy path edges that look far more natural than standard block placement. A lot of roleplay servers also use brushes as props for artist, archaeologist, or painter character builds, to make roleplay scenarios feel more immersive.
A lot of players like to take short breaks between long dig sessions or building projects to stretch their legs and reset their focus, especially if they’ve been hunting for a specific pottery shard for hours. Casual quick-play games are perfect for these 5 to 10 minute breaks, and many Minecraft players I know enjoy playing 777 Game when they need a low-stakes distraction that doesn’t require too much focus before they jump back into their world.
Brushes are also a common tool in custom adventure maps, where map makers will hide clues or secret buttons under layers of suspicious blocks that players have to brush away to progress. Brushes work on both Java and Bedrock editions of Minecraft, so you don’t have to worry about cross-version compatibility if you’re playing custom maps or building with friends on different devices.
Pro Tips to Get the Most Out of Your Minecraft Brush
Now that you have your brush, there are a few simple tricks to help you get more value out of it and avoid wasting rare suspicious blocks. First, always make sure you’re holding your brush before you interact with any suspicious sand or gravel. If you hit a suspicious block with any other tool, or even your fist, it will break instantly and drop no loot, so you’ll lose whatever rare item was inside. Always switch to your brush before you interact with any suspicious blocks to avoid wasting rare spawns that can take hours to find again.
If you’re looking for more suspicious blocks to brush, the best places to explore are desert pyramids, desert wells, warm ocean ruins, and trail ruins. Trail ruins have the highest chance of spawning rare pottery shards that you can’t find anywhere else, so they’re worth seeking out if you’re trying to collect all 20 available shard designs. Pottery shards you get from brushing can be combined to make custom decorated pots that you can use to decorate your base or trade with other players on multiplayer servers.
Another useful tip: if you bind your brush to your offhand, you can switch to it instantly by pressing the F key, so you don’t have to fumble through your inventory when you spot a suspicious block while exploring. If you find a sniffer egg while brushing suspicious sand, you can place it on moss blocks to hatch it into a baby sniffer, which will grow into an adult that digs up rare ancient seeds for unique decorative plants you can’t get any other way.
At the end of the day, learning how to make a brush in Minecraft is one of the most useful small upgrades you can make to your early or mid-game survival toolkit, and it opens up an entire new layer of content you won’t get access to with regular tools. Whether you’re hunting for rare pottery shards to decorate your base, trying to find a sniffer egg to raise your own prehistoric pet, or just looking for a fun new tool to add texture to your creative builds, the brush is a versatile, easy-to-craft item that’s worth making as soon as you get your first copper ingot. Next time you’re exploring a desert temple or ocean ruin, don’t forget to bring one along, you never know what hidden treasures you’ll uncover.