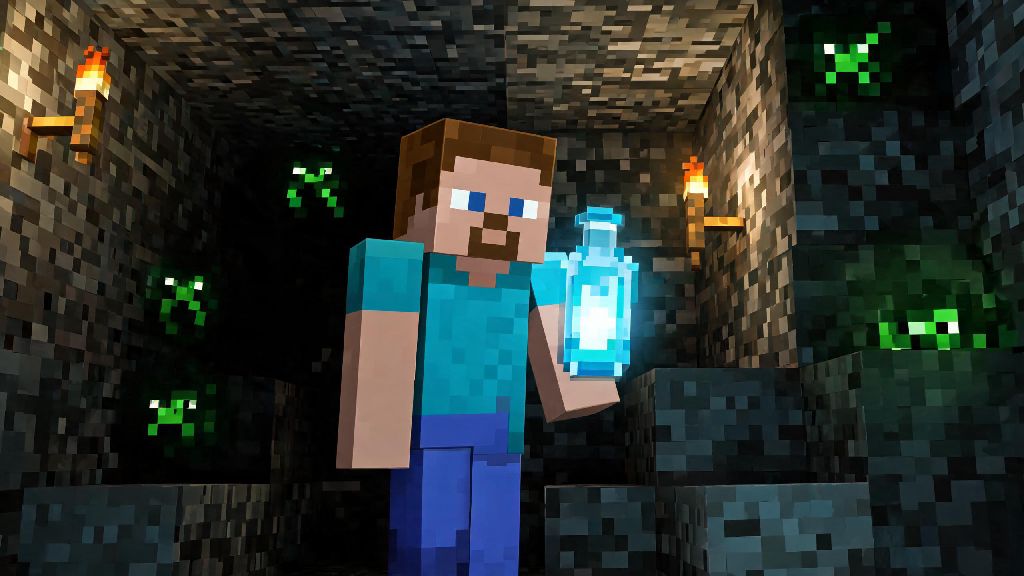
If you’ve ever stumbled through a dark cave at midnight, only to be jumped by a creeper you didn’t see lurking in the shadows, you know how frustrating low visibility can be in Minecraft. Learning how to make a potion of night vision in Minecraft is one of the most game-changing skills you can pick up for survival play, especially if you love exploring deep cave systems or spending time in the Nether. This guide breaks down every step, from gathering ingredients to modifying the potion for longer use, so you never have to fumble with stacks of torches again when you’re far from base.
All Required Ingredients for Brewing a Night Vision Potion
Before you start brewing, you’ll need to gather a handful of items, most of which are accessible as soon as you make your first trip to the Nether. Don’t worry if you’re new to brewing, none of these ingredients are rare if you know where to look, and you can make 3 potions per batch to save resources. If you haven’t built a brewing stand yet, that’s your first step before you can make any potions at all.
It’s a good idea to farm extra of these ingredients if you plan to brew night vision potions regularly. Carrots are easy to grow in any farm plot, and gold nuggets can be farmed from zombie piglins in the Nether, so you won’t have to make constant trips back to Nether Fortresses once you have a steady supply. Blaze powder also acts as fuel for your brewing stand, so keep an extra stack handy for multiple batches of potions at once.
Core Steps to Make a Potion of Night Vision in Minecraft
Brewing the base version of this potion only takes about 40 seconds total once you have all your ingredients together. The process is the same across all versions of Minecraft, including Java, Bedrock, and Pocket Edition, so you don’t have to worry about different steps for different platforms.
Step 1: Fuel your brewing stand by placing the Blaze Powder in the small top-left slot of the brewing stand menu. One Blaze Powder will fuel up to 20 brewing operations, so you won’t have to refill it for multiple batches.
Step 2: Add your water bottles to the three bottom slots of the brewing stand menu. Even if you only need one potion, filling all three slots is way more efficient, as you only use one of each ingredient for three full potions. You can store extra potions in your base chest for later use.
Step 3: Add the Nether Wart first to the top center ingredient slot. Wait 20 seconds for the brewing process to finish, and your water bottles will turn into Awkward Potions, the base for almost all useful potions in Minecraft. You can’t skip this step, as night vision potions won’t brew if you add the golden carrot directly to water bottles.
Step 4: Add the Golden Carrot to the top center ingredient slot, and wait another 20 seconds for brewing to complete. You’ll now have 3 Night Vision Potions that each last 3 minutes when consumed. If you’re in a hurry, you can leave the brewing stand menu while it’s working, the process will continue running in the background so you can do other nearby tasks while you wait.
How to Upgrade Your Night Vision Potion for Better Effects
The base 3-minute potion works fine for quick cave runs, but you can upgrade it to fit different playstyles and scenarios with just a few extra ingredients. None of these upgrades are required, but they can make the potion far more useful for late-game exploration or multiplayer play.
Extend duration to 8 minutes by adding Redstone Dust to the finished night vision potion in the brewing stand. This is the most popular upgrade for solo players, as 3 minutes is barely enough to explore a medium-sized cave system, while 8 minutes lets you go deep into the Nether or explore an entire underground ravine without reapplying the effect. Redstone is easy to find in deep caves, so this upgrade is very low cost.
Make a splash potion of night vision by adding Gunpowder to the finished potion. This is perfect if you’re playing with friends, as you can throw one splash potion and everyone in a 5-block radius gets the full night vision effect, no need to pass individual potions around. It’s also handy if you’re being chased by mobs and don’t have time to stand still and drink a regular potion. But don’t waste gunpowder on splash potions if you’re playing solo, the regular drinkable version works exactly the same and uses fewer resources.
Make a lingering potion of night vision by adding Dragon’s Breath to a splash night vision potion. This creates a cloud that gives the night vision effect to anyone who walks through it for 10 seconds after it’s thrown. This is mostly useful for late-game multiplayer bases, where you can throw a lingering potion near your base entrance to give everyone coming and going the effect without having to brew individual potions. You’ll need to fight the Ender Dragon to get Dragon’s Breath, so this upgrade isn’t accessible for new players.
Practical Uses for Night Vision Potions in Survival Play
Many new players write off night vision potions as unnecessary because they use torches for light, but once you start using them regularly, you’ll notice how much time and inventory space they save you in almost every part of survival play.
Cave exploration is far faster with night vision, because you don’t have to stop every few blocks to place a torch. You can spot ore veins from 20+ blocks away without waiting for torch light to reach them, and you’ll never accidentally step into a hidden lava pool you didn’t see in the shadows. I used to carry 2 full stacks of torches with me on every caving trip, but now I only carry one stack just to mark paths back to the surface, and I have way more room for ore and loot in my inventory.
Nether exploration is another area where night vision potions shine. The Nether’s dim, orange lighting makes it very hard to spot hidden lava pockets, Piglin brutes, or ancient debris from a distance, but night vision turns the entire dimension bright enough that you can see every hazard clearly, even in the darkest basalt deltas. Pair it with a fire resistance potion, and you can explore the Nether for hours without any risk of unexpected damage.
Underwater exploration is also much easier with night vision, as the effect works exactly the same underwater as it does on land. You won’t have to place dozens of sea lanterns to see inside sunken ships or ocean monuments, and if you pair night vision with a water breathing potion, you can stay underwater for 10+ minutes without any issues. Just don’t drink a night vision potion right before you sleep in a bed, because when you wake up the effect will still be active, and bright daylight will look washed out and strange for the remaining duration of the potion. It doesn’t break anything, but it’s fairly annoying.
At the end of the day, learning how to make a potion of night vision in Minecraft is a small skill that makes a huge difference to your survival experience, whether you’re a new player just starting to explore the Nether or a veteran looking to speed up your ancient debris farming runs. You don’t need any fancy late-game items to make the base version, just a quick trip to the Nether to grab nether wart and blaze rods, and a small carrot farm at your base. Try brewing a batch for your next caving trip, and you’ll never want to go back to fumbling with torches in the dark again.