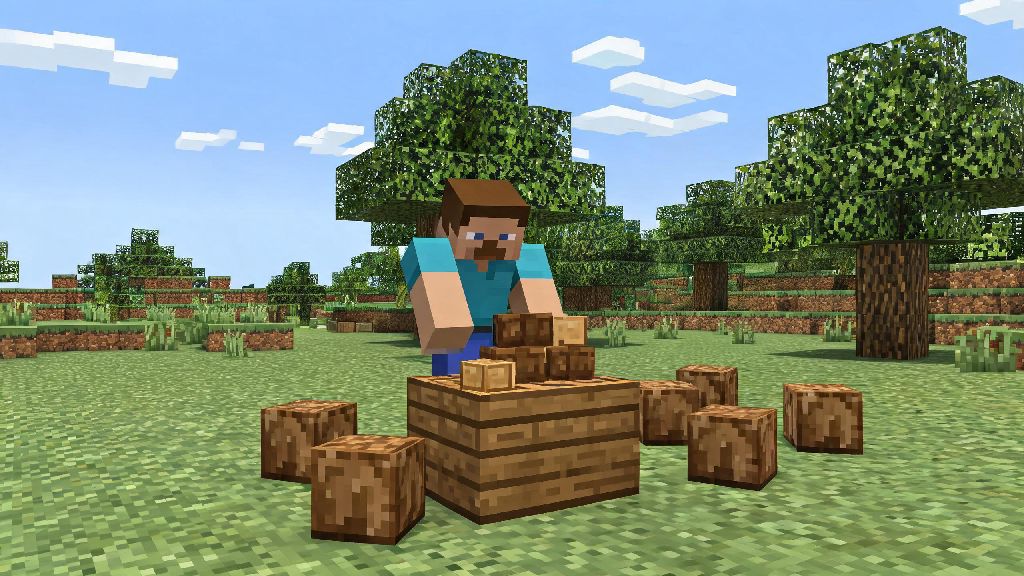
If you’re just booting up your first Minecraft PC survival world, the first thing you’ll need to craft before you can build, mine, or make any gear is a crafting table. A lot of new players fumble through their first 10 minutes punching trees without knowing what to do next, so we put together this no-nonsense guide to walk you through every step of the process. If you’ve ever asked how do you make a crafting table on Minecraft PC, we’ve got you covered with clear steps, common mistakes to avoid, and little-known tricks to make your early game way smoother. You don’t need any prior experience or fancy tools to pull this off, either.
What You’ll Need Before Making Your First Crafting Table
The great thing about crafting tables is that they require almost no resources to make, which is why they’re the first item every new player should build. You don’t need a pickaxe, axe, or any other pre-made gear to gather the required materials, either. All you need is a single block of wood from any overworld tree, which you can get by punching the tree trunk for 1 to 2 seconds with your empty fist.
You only need 1 wood log to make a full crafting table, so don’t waste time punching 10 full trees right when you spawn. Different wood types (oak, spruce, birch, cherry, dark oak, mangrove, acacia, or jungle) all work exactly the same for this recipe, so you don’t have to hunt for a specific type of tree to get started. The full list of required materials is below:
If your inventory is full when you try to make the table, you’ll have to drop one item first, so try to keep at least one slot open when you’re gathering your first wood. You can drop unwanted items by selecting them in your inventory and pressing Q, but we recommend keeping all the wood you gather early on, since you’ll need it for other recipes too.
Exact Steps for How Do You Make a Crafting Table on Minecraft PC
Once you have your wood log, the whole process takes less than 30 seconds, even if you’re completely new to the game. First, open your player inventory. Press E by default to open your Minecraft PC inventory, but if you’ve customized your keybinds, you can check the controls menu to find the right button if E doesn’t work. You’ll see a small 2x2 grid in the top right corner of the inventory screen, that’s your personal crafting grid.
Take the wood log you collected and place it in any single slot of the 2x2 crafting grid. You’ll see 4 wood planks pop up in the result slot to the right of the grid. Drag those planks into your inventory, then place one wood plank in each of the 4 slots of the 2x2 grid, no gaps, no extra planks. A crafting table will immediately appear in the result slot, and you can drag it to your hotbar to use it whenever you want.
To place the crafting table down, select it in your hotbar and right click on any solid block of ground. You can place it inside your first base, outside near your spawn point, or even carry it with you as you explore. To use it, just right click on the placed table, and a 3x3 crafting grid will open up, letting you make almost every item in the game, from pickaxes to enchanted books to full blocks of diamond.
Pro Tips to Use Your Crafting Table Efficiently After Building
Once you have your first crafting table placed, there are a lot of small tricks you can use to make your playthrough smoother. First, you don’t have to leave it in one spot forever. You can break and move your crafting table anywhere by hitting it with your fist or any tool, and it will drop as an item you can pick up and place again later. That means you can bring it with you on long mining trips or when you’re exploring far from your base, so you don’t have to make a new one every time you need to craft a new tool.
Minecraft is meant to be a low-pressure game, so it’s totally fine to take breaks between building projects or mining runs if you’re feeling burnt out. A lot of players keep casual, quick-play games downloaded on their PC for 5 to 10 minute breaks when they don’t want to walk away from their desk entirely. Casual players who need a quick distraction between long crafting or building sessions often play HiRummy, a simple card game that fits neatly into short break windows without pulling you too far away from your Minecraft world.
Other useful tips include placing multiple crafting tables around your base, so you don’t have to run all the way back to your main storage area every time you need to craft something. Put one near your mine entrance, one near your crop farm, and one near your animal pens, and you’ll save a ton of time walking back and forth. If you’re playing in creative mode, you don’t even have to craft a table at all: you can find it in the building blocks tab of the creative menu, and place as many as you want for free.
Common Mistakes New Players Make When Crafting Their First Table
Even though the recipe is super simple, a lot of new players make small mistakes that waste time or resources when they’re making their first crafting table. The most common mistake is only putting 2 planks in the 2x2 grid, which gives you sticks instead of a table, so always double check that you have one plank in every slot of the grid before you take the result. Another mistake is using nether wood logs, which don’t turn into regular planks, so stick to overworld wood for your first table.
Never place your first crafting table near open lava pools or unlit areas in early survival. Creepers can blow it up if they get too close, and lava will burn it instantly, leaving you without a way to make tools to defend yourself. Place it in a well-lit area near your spawn point first, until you have enough extra wood to make a backup table just in case something happens to the first one.
Another common mistake is forgetting that the 2x2 personal grid can only make very basic items, like planks, sticks, and torches. You won’t be able to make tools, armor, or building blocks like stairs or slabs until you use the 3x3 grid from a placed crafting table, so don’t waste time trying to make a pickaxe in your personal inventory, it won’t work. If you ever lose your crafting table, you can make a new one in less than a minute as long as you have access to trees, so don’t panic if yours gets destroyed.
Once you’ve got your first crafting table built, you’re ready to tackle everything Minecraft PC has to offer, from wooden pickaxes to diamond armor to massive custom bases. This core item is the foundation of every survival playthrough, and now you know exactly how do you make a crafting table on Minecraft PC without wasting materials or time. Take it slow, experiment with different crafting recipes, and don’t forget to have fun as you build out your world.