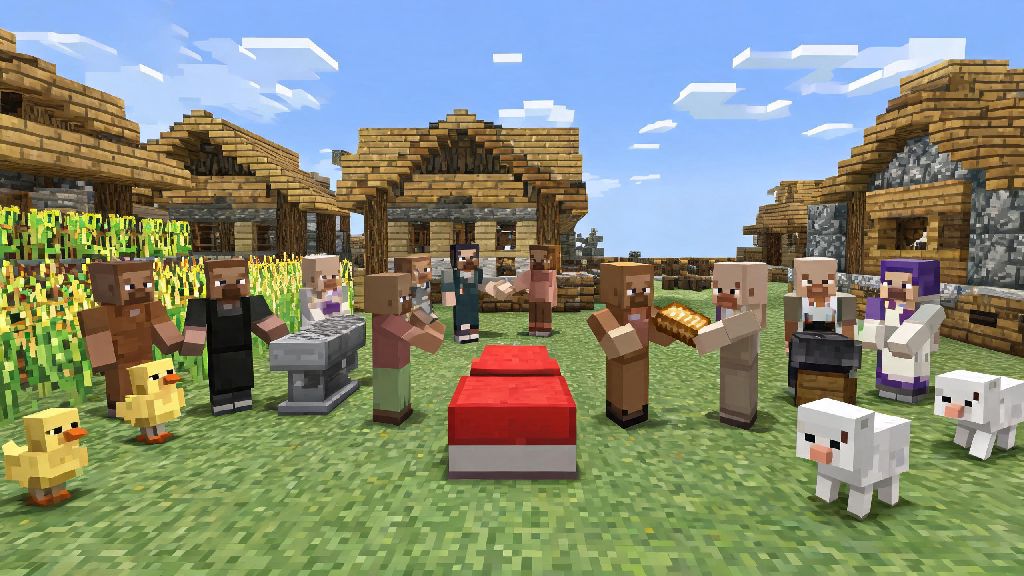
If you’ve spent any time playing Minecraft survival in 2026, you know that a stable village population is the backbone of any successful base. From discounted enchanted gear to unlimited food supplies, villagers give you access to resources you’d otherwise spend hours grinding for. But a lot of new players struggle to get their villagers to mate reliably, even when they think they’ve checked all the boxes. This guide breaks down exactly how to breed villagers in Minecraft, with all the latest updates for 2026 game versions to make the process as smooth as possible.
How to Breed Villagers in Minecraft: Core Pre-Requisites
Before you even think about placing beds or handing out bread, you need to make sure you meet three non-negotiable requirements. I’ve tested dozens of breeding setups in 2026’s 1.21.2 stable update, and skipping any of these will leave you with zero baby villagers, no matter how hard you try. First, you need one bed per existing villager, plus one extra bed for every baby you want to produce. The game counts valid beds as breeding “slots”, so if you have 2 villagers and 2 beds, there’s nowhere for a baby to go, so they won’t mate. Second, you need enough food for each breeding pair. Villagers automatically store food in their personal inventory, and they won’t enter love mode until they hit a specific threshold: 3 loaves of bread, 12 carrots, 12 potatoes, or 12 beetroot per villager. Third, you need to keep the area safe. Villagers won’t breed if there are any hostile mobs within a 16-block radius of their position. Even a single zombie hiding behind a wall will put them in panic mode, and they’ll prioritize running away over mating. It’s also worth noting that villagers need to be within 8 blocks of each other to start the breeding process, so don’t spread them out too far.
Step-by-Step Breeding Area Build for 2026 Minecraft Versions
You don’t need a fancy redstone setup to breed villagers reliably. I use a super simple 9x9 build that works for both single player and multiplayer servers in 2026, and it only takes 10 minutes to put together. Start by placing 9 solid blocks as your floor, then build 3-block high walls around the perimeter, leaving a single door for you to enter and exit. Next, place your beds along one wall of the pen. Make sure you leave 2 empty blocks of space above each bed’s mattress – if you place a solid block right above the bed, the game will mark it as invalid, and villagers won’t be able to claim it. Once your beds are placed, add a composter in a corner of the pen, and give one villager a hoe to turn them into a farmer. A farmer villager will automatically harvest crops and distribute food to other villagers in the pen, so you won’t have to manually hand out bread every time you want more babies. I usually plant a small carrot farm right outside the pen, so the farmer can reach the crops through the gap between the wall blocks without wandering off. That means you’ll have a fully automatic breeding setup that runs without any input from you once it’s set up. If you want to speed up the process, you can also drop extra bread into the pen every few minutes to fill villagers’ inventories faster.
Common Breeding Mistakes to Avoid in 2026
Even if you follow all the pre-requisites, small mistakes can stop your villagers from breeding entirely. I’ve made every single one of these mistakes at least once while testing setups for 2026 servers, so I know how frustrating it is to wait hours for babies that never show up. Some of the most common issues include:
If you’re playing on a multiplayer server in 2026, always double check that the server admin hasn’t disabled mob breeding for performance reasons. A lot of large survival servers turn off villager breeding to cut down on lag, so it’s worth asking in chat before you spend time building a setup. You should also make sure that your breeding area is well lit to stop hostile mobs from spawning inside the pen. Even a single creeper blowing up a section of your wall can let zombies in, which will reset the entire breeding process for all villagers in the area.
Post-Breeding Tips to Make the Most of Your New Villagers
Once your villagers start breeding, you’ll have a steady supply of new villagers to use for trading halls, iron farms, or even just to populate a custom village build. Baby villagers take 20 minutes to grow into adults, so you can use that time to set up workstations for them to claim. Assigning a workstation to a villager right after they grow up will lock their profession, so you can get the exact trades you want without wasting time. For example, placing a lectern near a new adult villager will turn them into a librarian, which you can reroll until you get Mending or other high-value enchanted book trades. 2026’s 1.21.2 update added new trades for armadillo scutes, so breeding armorer villagers early can help you get wolf armor faster than you’d find it exploring the world. You can also build a zombie villager cure station near your breeding pen to discount your trades by up to 70%. Curing a zombie villager gives them a permanent trade discount, and if you cure a villager multiple times, you can get most trades for just 1 emerald each. If you don’t need extra villagers, you can also send surplus babies to a separate holding pen to use for iron farms, which give you unlimited iron ingots without having to mine underground.
Breeding villagers doesn’t have to be a complicated, frustrating process, even with the latest 2026 Minecraft updates. As long as you meet the core pre-requisites, build a secure breeding pen, and avoid common mistakes, you’ll have a steady supply of villagers in no time. Whether you’re building a massive trading hall or just want more villagers to populate your custom survival base, learning how to breed villagers in Minecraft is one of the most useful skills you can pick up for your 2026 playthroughs. If you test this setup for yourself, feel free to drop a comment below to let me know how it works for you!