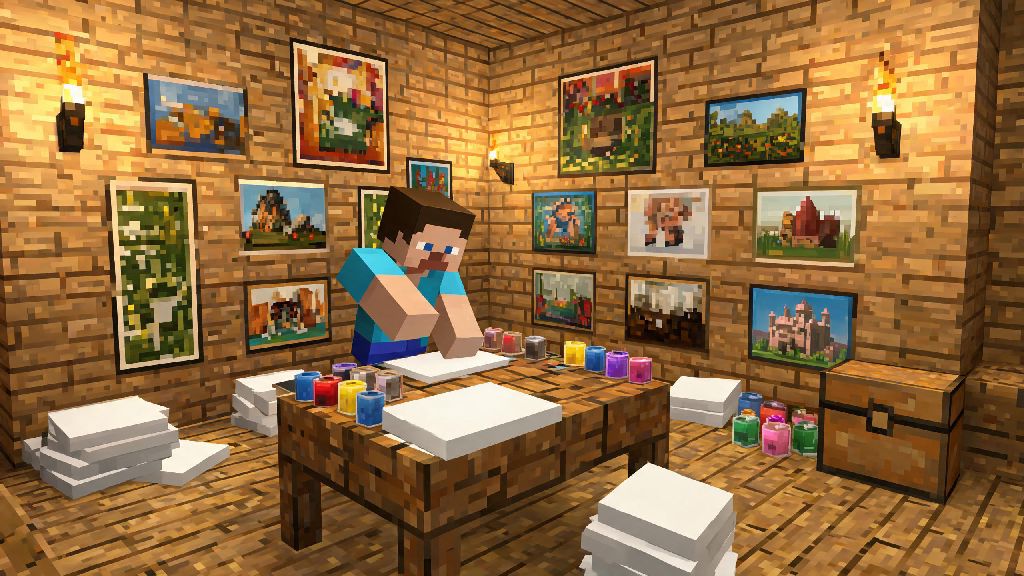
If you’ve ever walked through a plain Minecraft base and thought it felt cold and unfinished, custom wall art is the fastest way to add personality to any space. Whether you’re decorating a tiny survival hut or a sprawling creative mode castle, learning how to make paintings on Minecraft lets you turn blank walls into conversation pieces that fit your exact style. I’ve spent hundreds of hours testing different painting placement tricks and custom design hacks over the last 6 years of playing the game, so I’ve broken every step down so even new players can pull it off without confusion. You don’t need any fancy mods or admin permissions for most of these tricks, either—they work on vanilla survival servers, single player worlds, and creative mode alike.
How to Make Paintings on Minecraft (Vanilla, No Mods Required)
First, let’s cover the basic vanilla crafting recipe that works for every version of the game, from Java to Bedrock. You don’t need any rare resources for this, which means you can craft your first painting within your first few days of a new survival world if you plan ahead. You only need two ingredients to make a standard Minecraft painting: 8 sticks and 1 piece of wool. The color of the wool doesn’t affect the random design you get when you place the painting, so you can use whatever color you have lying around without worrying about wasting rare dye. To craft it, place the wool in the center slot of your 3x3 crafting table, then fill all 8 surrounding slots with sticks. You’ll get one painting per craft, so stock up if you’re decorating a large space.
Wait, why do you get random designs? Mojang designed vanilla paintings to pull from a pre-set library of 26 different art pieces, ranging in size from 1x1 blocks all the way up to 4x4 blocks. The size you get when you place a painting depends on the amount of empty wall space and headroom you leave above the placement spot. To get the largest possible 4x4 painting, leave 4 blocks of empty wall space horizontally and 4 blocks vertically before you right click to place. If you don’t get the design you want on the first try, just break the painting and place it again until you roll the one you’re looking for. I usually go through 4 or 5 placements before I get the design that fits my space, so don’t feel like you’re doing something wrong if it takes a few tries.
How to Get Custom Painting Designs in Your World
If the pre-set vanilla painting designs don’t fit the vibe of your base, you don’t have to settle for what’s available. If you’re new to learning how to make paintings on Minecraft, custom designs are a fun next step once you master the vanilla basics. You can swap out the default art for custom images, and the process is different depending on if you’re playing single player or on a multiplayer server. For single player worlds, you can edit the game’s texture pack files to replace the default painting PNGs with any image you want. Make sure your custom images are the exact same pixel dimensions as the default painting designs you’re replacing to avoid stretching or glitching. For example, a 1x1 painting is 16x16 pixels, a 2x2 is 32x32, and a 4x4 is 64x64, so resize your images before you add them to the texture pack folder.
If you’re playing on a multiplayer server, you’ll need to use a server-side mod or plugin to add custom paintings that all players can see. Some popular plugins let you upload images directly through a chat command, so you don’t have to mess with texture pack files at all. Just keep in mind that if you use a custom texture pack only on your end, other players on the server will still see the default vanilla paintings instead of your custom art. That’s not a big deal if you’re building for yourself, but it’s something to remember if you’re working on a public community build.
There are a few common mistakes new players make when adding custom paintings, so I’ve listed the most important ones to avoid below:
Smart Ways to Use Paintings for Survival Builds
Most players only use paintings for decoration, but they’re actually a surprisingly useful tool for survival mode builds too. I use them all the time on my hardcore survival worlds to hide storage areas, secret entrances, and even messy redstone wiring that I don’t want cluttering up the look of my base. Paintings let you walk through them if you place them over an empty 1-block gap in a wall, which makes them the easiest hidden door you can build without any redstone. All you have to do is leave a 1x2 gap in your wall, place a sign or a item frame on the side of the block next to the gap, then place the painting over the gap. The painting will stick to the sign or item frame and cover the entire gap, so no one will know there’s a doorway there unless they try to walk through it.
You can also use paintings to cover up lava lighting for a warm, soft glow in your base without seeing the ugly lava block. Just place a glass block in front of the lava to stop it from spreading, then place a 1x1 painting over the glass. You’ll get the same light level as a torch, but it looks way cleaner than placing random torches all over your walls. Another trick I use all the time is placing paintings over chests that I don’t want other players on a public server to find. Just make sure you leave enough space to open the chest from the side, so you don’t have to break the painting every time you need to grab something from your storage. You can even use paintings to block mob line of sight, which is helpful if you have a base near a spawner and don’t want skeletons shooting at you through windows.
Common Painting Placement Mistakes to Avoid
Even if you know the basic crafting recipe, it’s easy to make small mistakes that stop your paintings from looking right or working the way you want them to. I’ve made all of these mistakes at least once, so I’m sharing them to save you the frustration of wasting time redoing your decor. First, don’t place paintings too close to ceilings or other blocks if you’re trying to get a larger size. If you only have 2 blocks of vertical space, you’ll never get a 3 or 4 block tall painting, no matter how many times you break and replace it. Always measure the space before you start placing, so you don’t waste time trying to get a size that’s impossible.
Never place paintings directly over open flame or lava without a glass block barrier, because paintings are flammable and will burn up within seconds of being placed. I learned this the hard way when I lost 12 paintings I had crafted for my nether base back in 2019, and I’ve never made that mistake again. Another common mistake is trying to place paintings on non-solid blocks like leaves, glass panes, or fences. Paintings only stick to full, solid blocks like cobblestone, wood planks, concrete, or stone bricks, so make sure your wall is made of solid blocks before you start placing decor. If you’re trying to place a painting on a glass wall for a hidden base, you can place a full block behind the glass where you want the painting to go, place the painting, then break the full block behind it. The painting will stay floating on the glass, which is a fun little glitch that still works in the latest game versions. The last mistake I see all the time is using too many large paintings in small spaces. A 4x4 painting will look overwhelming in a 5-block tall hut, so stick to 1x1 or 2x1 designs for smaller rooms to keep the space feeling open and cozy.
At the end of the day, paintings are one of the most versatile and underrated decor items in the entire game, and they’re accessible to every player no matter their skill level or playstyle. You don’t need a huge resource stockpile or advanced building skills to add custom art to your base, and the extra personality they bring is well worth the 10 minutes it takes to craft and place them. Whether you’re building a hidden survival bunker, a cozy cottage, or a massive creative mode museum, taking the time to learn how to make paintings on Minecraft will help you build spaces that feel truly yours. Next time you’re walking through your base and notice a blank wall, grab a few sticks and a piece of wool and try placing a few paintings—you might be shocked at how much of a difference it makes.