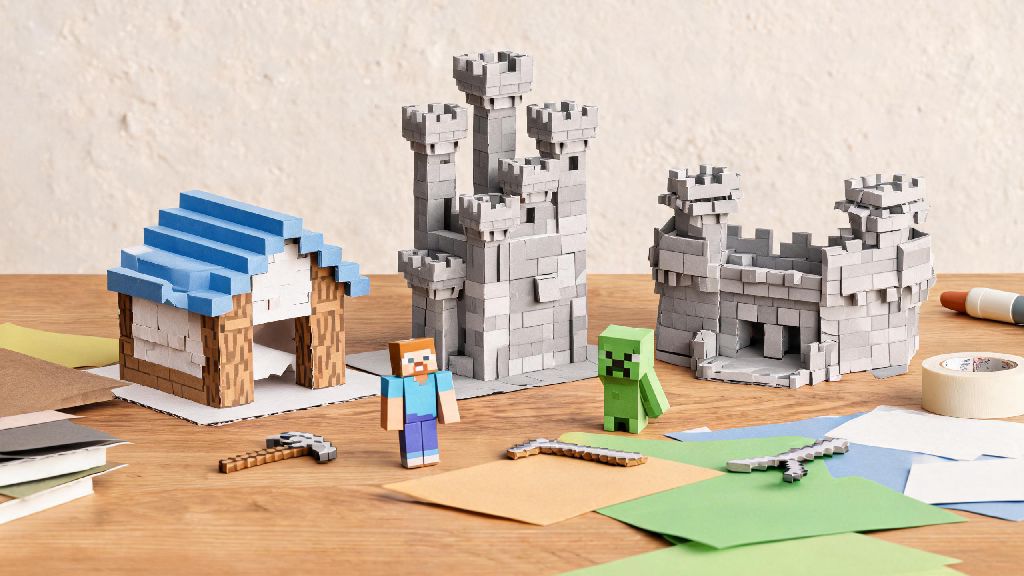
If you’ve ever spent hours building a perfect Minecraft base only to wish you could hold it in your hands, you’re not alone. Lots of fans turn to physical crafts to bring their favorite blocky world to life, and one of the most accessible options is learning how to make paper Minecraft builds you can display on your desk, play with, or even give as gifts to other fans. You don’t need fancy craft supplies or years of origami experience to pull this off, either – most projects use basic materials you probably already have lying around your house. This guide breaks down the process step by step, with tips to avoid common mistakes and make your paper builds look as close to their in-game counterparts as possible.
How to Prep Your Materials to Make Paper Minecraft Builds That Last
The quality of your materials will make a huge difference in how sturdy and long-lasting your finished paper builds are, so it’s worth taking a minute to gather the right supplies before you start cutting. Cardstock is always better than regular printer paper for these projects, because it’s thick enough to hold its shape without flopping over, even for larger builds like character figurines or multi-block dioramas. Acid-free glue sticks are the best adhesive option – they don’t seep through paper to leave splotches, they dry clear, and they won’t turn yellow or break down after a few months like liquid white glue often does.
You’ll also need something to cut with, and your choice depends on who is working on the project. If you’re crafting with kids under 10, stick to blunt-nosed safety scissors to avoid accidental cuts. If you’re working on more detailed projects like small mob figures, a precision craft knife with a sharp blade will make it much easier to cut clean edges around small tabs and details. You don’t need a cutting mat, but it’s a good investment if you plan to make a lot of paper builds, as it will protect your table from scratch marks. You can use free printable Minecraft templates found online, or draw your own on grid paper if you want to make custom designs.
Step-by-Step Process for Building a Basic Paper Minecraft Block
If you’ve never tried to make paper Minecraft projects before, starting with a basic dirt or grass block is the best way to get a feel for the process. First, print or draw your block template: every standard Minecraft block has six 16x16 pixel faces, plus small fold tabs attached to most edges to hold the cube together. Cut out the full template carefully, taking extra care not to snip off the small fold tabs by mistake. If you’re using a printed template, cut along the solid black lines only – the dotted lines are for folding, not cutting.
Once your template is cut out, fold along all the dotted lines, creasing firmly with your fingernail or the edge of a ruler to get sharp, clean edges. Sharp folds make your finished block look crisp and professional, so don’t skip this step. Next, apply a thin layer of glue to each fold tab one at a time, and press the corresponding block face to the tab, holding it in place for 10 to 15 seconds to let the glue set. Glue the smaller, less visible tabs first before moving to the larger side faces – this makes it easier to adjust the block shape as you go, and reduces the risk of visible gaps in the finished cube. Once all sides are glued, set the block aside for 10 minutes to let the glue fully cure before you handle it or add it to a diorama.
Fun Paper Minecraft Projects to Try Beyond Basic Blocks
Once you’ve mastered basic blocks, you can expand to more complex projects that let you get creative with your favorite in-game items, mobs, and builds. All of these projects work well if you want to make paper Minecraft gifts for friends who love the game, too. Some of the most popular options for beginners include:
Stick to smaller, less complex projects first before you try to build a full 20-block castle or 6-inch Ender Dragon figurine. You’ll build up your skills as you go, and you won’t get frustrated by a project that’s too advanced for your current skill level. If you get stuck on a more complex design, look for video tutorials that walk you through the folding and gluing steps for that specific project.
Common Mistakes to Avoid When Making Paper Minecraft Crafts
Even seasoned crafters make mistakes when working on paper Minecraft projects, but most of the most common issues are easy to avoid if you know what to watch for. The first mistake many new crafters make is using too much glue. A thin, even layer on each tab is all you need – if you glob on glue, it will seep through the paper and leave visible wet marks that don’t go away when dry, and it will take much longer for the build to hold its shape. Another common mistake is skipping the creasing step for folds. If you don’t press firmly along each fold line, your block will look lumpy and uneven, and the edges won’t line up correctly when you glue it together.
If you do accidentally cut off a fold tab, don’t panic – you can cut a small strip of extra cardstock, glue it to the edge of the face that was supposed to have the tab, and use that as a replacement. It takes a little extra time, but it works just as well as the original tab. You should also avoid leaving your finished paper builds in direct sunlight for long periods of time, as the UV rays will fade the colors of the printed or drawn designs over time. Store them on a shelf out of direct sun if you want them to stay bright for years.
At the end of the day, making paper Minecraft builds is a low-stakes, fun way to connect with the game even when you’re not sitting at your computer or console. You don’t have to stick to pre-made templates either – feel free to design custom blocks, mobs, or even entire builds that match your unique in-game creations. Whether you’re making a small creeper figurine for your desk or a full diorama of your survival base for a fan convention, learning how to make paper Minecraft crafts is a skill that pays off with hours of creative fun. Next time you’re taking a break from mining or building in-game, grab some cardstock and give it a try – you might be surprised at what you can create.