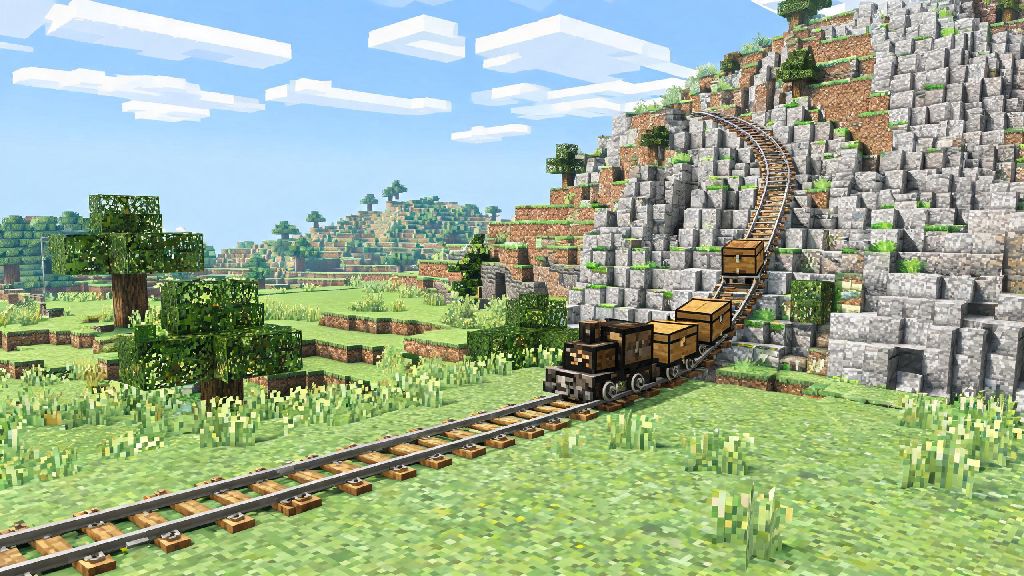
If you’ve spent hours trekking across your 2026 Minecraft survival world hauling diamond ore or villager trades, you know how tiring long walks get. Even in creative mode, flying back and forth between build sites can get tedious when you’re working on a large-scale map. That’s where a functional, fast railway system comes in, and if you’ve ever asked how do you make a railway in Minecraft that works for both flat plains and mountain biomes, this guide walks you through every step I use for my own public server builds. No fancy mods required, just basic materials and a little bit of planning.
Pre-Build Planning to Avoid Common 2026 Minecraft Railway Mistakes
Before you start placing any rails, take 10 minutes to plan out your route to avoid wasting resources or having to rebuild half your track later. I once wasted 3 stacks of rails building through a dark oak forest only to find a cliff 200 blocks in, so a little scouting goes a long way. Always prioritize a flat or gradual slope if possible, because steep hills require twice as many powered rails to maintain speed, which eats into your resource budget. For survival builds, I recommend scouting during the day so you don’t get ambushed by mobs while you’re marking your route, especially if you’re building in unlit remote biomes.
Run through this quick pre-build checklist to make sure you’re prepared before you gather materials:
For most basic 1000-block routes, you’ll need roughly 1000 regular rails, 30 powered rails, 30 redstone torches, and enough solid blocks to lay a base for your track. Adjust up if you’re building through hilly terrain, or if you want to add multiple stations along the way.
Core Steps for How Do You Make a Railway in Minecraft That Works Every Time
Once you’ve scouted your route and gathered all your materials, you can start building your track in under an hour for most basic routes. Start by laying a solid base of blocks along your entire planned path. Using a solid block like cobblestone or deepslate prevents grass and weeds from growing up and breaking your track over time, which is a common issue for players who lay rails directly on dirt. If you’re building a bridge over water, use slabs for the base to make sure mobs can’t spawn under your track.
Next, lay your regular rails along the entire base, leaving gaps every 38 blocks for powered rails on flat ground. For uphill sections, leave a gap for a powered rail every 2 blocks to make sure your minecart maintains enough speed to climb the slope without stopping. Always place a redstone torch next to each powered rail to activate it, otherwise your minecart will come to a dead stop as soon as it hits the unpowered rail. You can hide the redstone torch under the block next to the rail if you want a cleaner look for your build.
If you want to add stations along your route, place an unpowered rail at your stop point, with a lever next to it so you can activate it when you want to leave. I usually add a small roof over my stations so I don’t get caught in rain or attacked by phantoms while I’m waiting for friends to join the ride. Test your track in both directions before you finish building – I once forgot to power a section of uphill track on the return route, and had to walk 500 blocks back to fix it, which was a huge waste of time.
Pro Tips for Powering and Securing Your Railway Post-Build
Once your basic track is up and running, there are a few small tweaks you can make to improve its functionality, especially if you’re playing on a multiplayer survival server. You don’t have to rely solely on redstone torches for power: you can use daylight sensors if you want a more eco-friendly build that only works during the day, or levers if you want to turn sections of track on and off for switching routes. Detector rails are also a fun addition, you can set them up to open fence gates automatically when a minecart approaches, or trigger a bell to let you know when a friend is arriving at your base. If you’re still figuring out how do you make a railway in Minecraft that works for multiplayer, these security tips will save you a lot of headaches later.
For survival builds, light up the entire track path with torches or lanterns every 7 blocks to stop mobs from spawning on the track. I once had a creeper blow up a 10-block section of my main railway because I skipped placing a torch in a tunnel, so don’t make that mistake. Add fence gates or barrier blocks at entry points to stop random players from stealing your minecarts if you’re on a public server. You can also lock your station levers behind a password-protected door if you want to keep your railway private, though I usually leave my community railways open for all players to use on my servers.
If you want to add multiple branches to your railway, use switch tracks powered by levers to let you change routes without rebuilding sections of track. I have a main line that connects my base to my mine, villager trading hall, and nether portal, and I use a single lever at the start of the line to switch between the three branches. It saves me from having to build three separate railways, and it only took 10 extra minutes to set up.
Customization Ideas to Upgrade Your Railway for 2026 Build Meta
Functional tracks are great, but you can also customize your railway to match your world’s theme, which is a big trend for 2026 Minecraft builds. For nether transport routes, use blackstone for the base, red concrete for rail accents, and glowstone for lighting to match the nether’s aesthetic. For fairy-tale themed creative worlds, use pink and white concrete for the base, shroomlights for lighting, and flower beds along the sides of the track to make it look more whimsical. I built a cyberpunk-themed railway for my last creative server build, with neon concrete accents and floating lanterns above the track, and it ended up being one of the most popular builds on the server.
You can also add functional customizations to make your railway more useful. Add chest minecart stops at your quarry or farm to transport large amounts of resources across the map without having to carry them yourself. I use this all the time to move stone from my quarry to my base construction site, and it cuts down transport time by 70%. If you build a lot of automated farms, you can even set up detector rails to trigger hoppers to load and unload chest minecarts automatically, so you don’t have to be present to move resources around.
For longer cross-map routes, add small rest stops every 500 blocks with crafting tables, furnaces, and beds so you can stop and rest if you’re traveling at night. I also add small signposts at each stop pointing to nearby points of interest, like abandoned mineshafts or villages, so other players on the server can explore new areas if they want to stop mid-ride. These small touches don’t take a lot of extra resources, but they make your railway feel a lot more intentional and user-friendly.
Whether you’re building a short line between your base and your farm or a cross-map railway connecting 10 different outposts, figuring out how do you make a railway in Minecraft is one of the most useful building skills you can master in 2026. Don’t be afraid to experiment with different route designs and customization options to make it fit your world’s theme, and test every section as you build to avoid frustrating fixes later. Once you’ve got your first railway up and running, you’ll never want to walk across your world again.