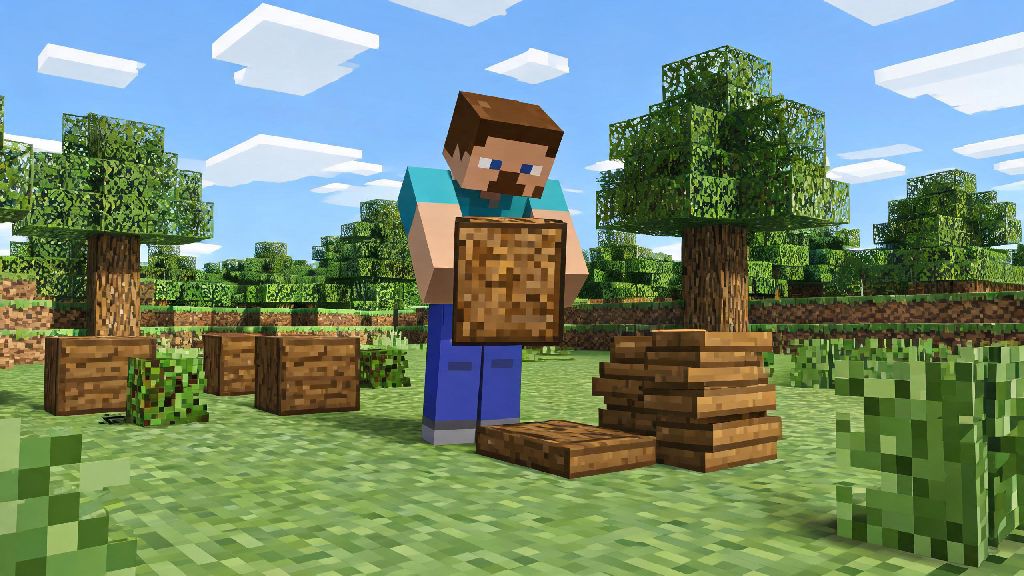
If you’ve just spawned into a new Minecraft world for the first time, the first thing you’ll probably notice is that you can barely make anything with your bare hands. Punching trees gets you wood, but you can’t turn that wood into tools, weapons, or building blocks until you have the right work station. That’s why knowing how to craft a crafting table on Minecraft is the very first skill every new player needs to master before they do anything else. I’ve played Minecraft on and off for over 10 years, and I still make a crafting table within the first 60 seconds of every new survival run, no exceptions. Without it, you’re stuck picking fights with creepers using your fists, and that never ends well.
What You Need Before You Learn How to Craft a Crafting Table on Minecraft
You don’t need any fancy, hard-to-find items to make this core work station. All you need is 4 wooden planks, which you can get from just 1 log of any type of wood—oak, spruce, birch, jungle, acacia, dark oak, mangrove, bamboo, or even cherry wood all work exactly the same for this recipe. When you punch a tree (yes, you just hold left click on the trunk until the block breaks), you’ll get a raw wood log. Pop that log into your personal 2x2 crafting grid that’s in your inventory, and you’ll get 4 planks per log. That means a single tree block is all you need to make your first crafting table.
Don’t waste time punching multiple trees before you make this, by the way. I’ve seen new players spend 5 minutes punching an entire forest because they think they need more supplies, but you only need one log to unlock the rest of the game’s crafting options. To make the prep process even simpler, follow these quick steps:
Note that if you’re playing on a server with modified recipes, this process might change, but for all vanilla Minecraft versions (both Java and Bedrock), this recipe is universal. Never use more than one log for your first crafting table—any extra wood you collect early on is better saved for tools or a temporary shelter once the table is built. This is the standard vanilla recipe for how to craft a crafting table on Minecraft, so it works across all platforms including PC, console, mobile, and even education edition.
Step-by-Step Process to Build Your First Crafting Table
Now that you have your 4 wooden planks, the actual crafting process takes less than 10 seconds. First, open your inventory again, and place one plank in each of the 4 slots of your personal 2x2 crafting grid. Don’t stack them all in one slot, that won’t work. You need one per slot, filling the entire small grid. Once you do that, the crafting table icon will pop up in the result slot to the right of the grid. Click that, move it to your hotbar, and you’re done.
Now you can place it anywhere in the world by selecting it in your hotbar and right clicking (or tapping the ground on mobile, or pressing the place button on console). Place your first crafting table near your spawn point if you don’t have a base yet, so you can easily find it again if you die and respawn early on. I always put mine right next to the first tree I punch, so I don’t have to wander around looking for it when I come back with more resources. If you’re playing in creative mode, you don’t need to craft it, of course—you can just pull it directly from your creative inventory, but the crafting recipe still works the same if you want to make it the survival way for fun.
Pro Tips to Get the Most Out of Your Crafting Table
A lot of new players think the crafting table is only good for making the first few tools, but it’s way more useful than that. First, you can use any type of wood planks mixed together to make a crafting table—you don’t need all 4 planks to be the same wood type. That’s super helpful if you spawn in a mixed forest with oak and birch right next to each other, you don’t have to stick to one type. Another tip: Keep a spare crafting table in your inventory at all times once you start exploring. There’s nothing worse than being 1000 blocks away from your base, finding a stack of diamonds, and realizing you don’t have a table to make a diamond pickaxe with. I always keep one in the last slot of my hotbar just in case, and it’s saved me dozens of times.
You can also break a crafting table with any tool (or even your fist) and pick it back up to move it, so there’s no risk of wasting resources if you place it somewhere you don’t want it. If you’re building a large base, put multiple crafting tables around different areas: one in your storage room, one in your mining outpost, one near your farm, so you don’t have to run all the way across your base every time you need to craft something. You don’t need to keep your crafting table exposed to the sky or have light near it for it to work, unlike some other work stations like the loom or the smoker. It works anywhere, even completely underground in total darkness, so you can hide it away if you’re worried about mobs breaking it (though mobs won’t intentionally destroy crafting tables, for the record). Once you know how to craft a crafting table on Minecraft, you can even make custom variations if you’re playing with mods that add new wood types or decorative work stations.
Common Mistakes New Players Make When Making Their First Crafting Table
Even though this is the simplest recipe in the game, I’ve seen tons of new players mess it up their first time. The most common mistake is trying to put the raw wood logs directly into the crafting grid instead of turning them into planks first. If you do that, you’ll just make more planks, not a crafting table, so make sure you convert the logs first. Another mistake is only making 2 planks instead of 4, so they don’t have enough to fill the whole 2x2 grid. Remember, one log makes exactly 4 planks, so don’t use any planks for other things until you’ve made your first table.
I once watched my little cousin spend 20 minutes punching trees and trying to make a sword in his personal inventory before I realized he’d never placed his crafting table down after making it. He was so frustrated he almost quit the game entirely, so I always make sure to mention that step to new players now. A lot of new players also forget to place the table down after they craft it, and they keep trying to craft items in their small 2x2 grid, which can only make very basic items. The crafting table opens up a 3x3 grid, which lets you make 99% of the items in the game, including tools, armor, weapons, and building blocks. If you can’t find the recipe for an item you want to make, chances are you need to use a crafting table’s 3x3 grid instead of your personal inventory grid. The last common mistake is making too many crafting tables early on. You only need one to start, and any extra planks are better used for a wooden pickaxe so you can mine stone, which is way more useful than having 5 extra tables lying around.
If you take nothing else away from this guide, remember that the crafting table is the foundation of every Minecraft playthrough, no matter if you’re playing survival, creative, or on a multiplayer server. Taking 30 seconds to learn how to craft a crafting table on Minecraft as soon as you spawn will save you hours of frustration later on, and unlock every other recipe the game has to offer. Once you have your first table set up, you can move on to making your first set of wooden tools, building a shelter before night falls, and starting your Minecraft adventure off on the right foot. I still get a little rush of excitement every time I place my first crafting table in a new world, because it means all the possibilities of the game are now open to me.