If you’ve spent hours grinding the same vanilla Minecraft biomes or fighting the same mobs over and over, you’ve probably wondered how to shake up your playthrough. Mods are the easiest way to add everything from new dimensions and custom creatures to quality-of-life tools that cut down on tedious resource farming. I still remember the first time I tried to mod Minecraft as a teen, I downloaded a random mod from a random site and ended up with so much adware on my laptop I had to reset the whole thing. If you’re not sure how to use Minecraft mods without breaking your game or risking security risks, this guide walks you through every step from picking safe mods to troubleshooting common issues.
How to Use Minecraft Mods: First Prep Steps Before You Download Anything
If you're brand new to learning how to use Minecraft mods, skipping these prep steps is the number one cause of frustration for new users. First, confirm which edition of the game you own, because mod installation works very differently for Java and Bedrock editions. Java is the original PC version, and supports full custom mods, while Bedrock (used on consoles, mobile, and the Windows Store PC version) uses add-ons that have more limited functionality.
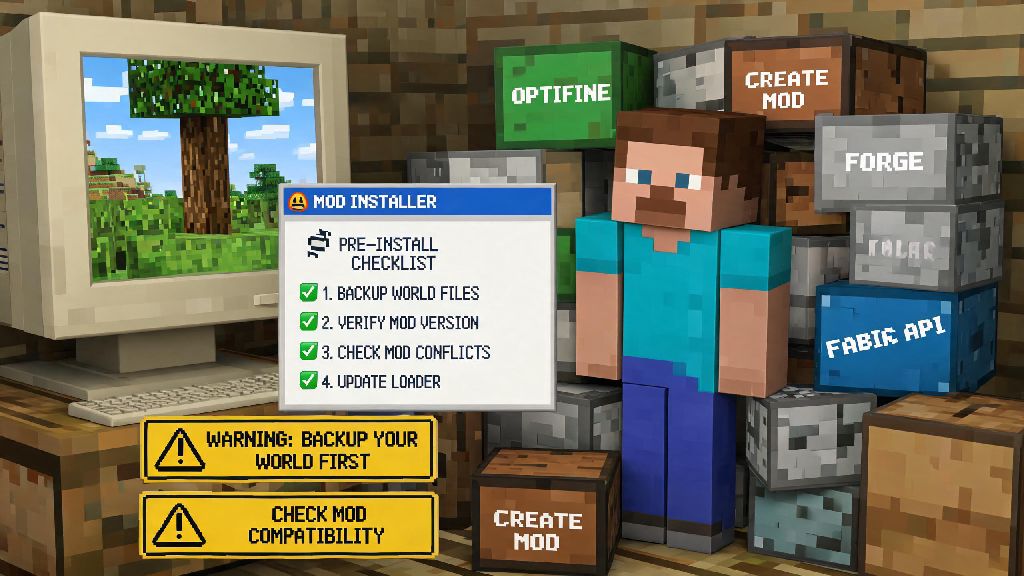
Always back up your existing worlds first before you make any changes to your game files. Most new players skip this step, but it only takes 2 minutes to copy your world files to a separate folder on your desktop. That means if something goes wrong during mod installation, you won't lose hundreds of hours of build progress or survival world progress.
Confirm your game version matches the mod version you plan to download. Mods are built for specific game releases, and a mod made for 1.20 will almost never work on 1.21 without updates. You can check your game version in the Minecraft launcher before you start the download process. If you want to use older mods, you can create a separate game profile for that specific version in the launcher to avoid compatibility issues.
Picking Safe, Compatible Mods for Your Playstyle
A big part of learning how to use Minecraft mods is picking options that fit how you already play, instead of downloading every popular mod you see. Mods range from small quality-of-life tweaks (like showing you exact crop growth times) to massive full-game overhauls that add 10+ new dimensions, hundreds of mobs, and entirely new progression systems. If you're a new player, start with 2-3 small quality-of-life mods first to get the hang of the process before you move to larger content packs.
Only download mods from verified, community-trusted platforms to avoid malware, adware, or broken files. Random sketchy sites that force you to click through 10 ad pages to download a mod are almost never safe, and many of them hide harmful files in the mod download. There are plenty of free, trusted platforms that host mods vetted by the Minecraft community.
Before you download any mod, check these key details to make sure it’s safe and compatible:
For example, if you mostly play survival mode, you might want to start with mods that reduce grind, like ones that let you stack more items or automatically sort chests. If you play creative mode, you can pick mods that add thousands of new building blocks or custom decoration items to make your builds more unique.
Installing Mod Loaders and Adding Your Mods
The installation process for how to use Minecraft mods varies slightly depending on which edition you own, but the core steps are the same across both Java and Bedrock. For Java edition, you will need a mod loader to run custom mods. The two most popular mod loaders are Forge (which supports most older, larger content mods) and Fabric (which is lighter weight and supports most newer quality-of-life mods). You only need one loader, so pick the one that works with the mods you want to use.
Install your mod loader first before adding any individual mods. The installation process is simple: download the loader installer from its official site, run the file, select the game version you’re using, and click install. Once it’s done, open your Minecraft launcher and you’ll see a new modded profile available to use. Launch the profile once to generate the required mod folders on your device, then close the game again.
Next, find your mods folder on your device. For Windows users, it’s usually in your AppData > Roaming > .minecraft folder. For Mac users, it’s in Library > Application Support > minecraft. All you have to do is drag and drop the mod .jar files you downloaded into this mods folder. For Bedrock edition, it’s even easier: you just open the .mcaddon mod file you downloaded, and it will automatically import to your game. You can enable or disable the add-on for individual worlds in the world settings menu.
When I first started modding, I made the mistake of dumping 30+ mods into my folder at once, and I spent 3 hours digging through them to find the one that was crashing my game. Don’t do that. Start with 2-3 mods, test them to make sure they work, then add more one at a time so you can easily spot which mod is causing issues if something breaks.
Troubleshooting Common Modded Minecraft Issues
If you run into issues when learning how to use Minecraft mods, don't immediately assume you did something wrong. Even experienced modders run into crashes, mod conflicts, or missing textures all the time, and most issues are very easy to fix if you know what to look for. You don't need any advanced tech skills to troubleshoot most mod problems.
Always check crash logs first to identify the source of the problem. When your game crashes, it will generate a crash log file in your .minecraft folder that lists exactly what caused the crash. 9 times out of 10, it will name the specific mod that’s causing the issue, so you can just remove that mod instead of deleting all your installed mods. If you don’t understand the crash log, you can paste it into community modding forums and other players will usually help you figure out the issue for free.
Mod conflicts are another common issue, and they happen when two mods try to edit the same part of the game. For example, two mods that both add new copper ores will often overwrite each other, leading to missing textures or broken item drops. Most modders list known conflicts on their mod pages, so check that first if you run into issues. You can usually fix conflicts by picking one of the two mods, or finding a compatibility patch that lets them work together.
If you’re playing modded Minecraft on a server, make sure every player on the server has the exact same mod versions and mod loader installed. If one player has a different version of a mod, they won’t be able to connect to the server at all, or they’ll cause crashes for everyone else playing. Most modded servers share a pack of all required mods on their page so all players can download the exact same files easily.
Modding Minecraft doesn't have to be complicated, even if you've never touched a mod file before. Once you know how to use Minecraft mods safely and correctly, you can completely transform your playthrough to fit exactly what you want out of the game. Start small with a few quality-of-life mods first to get the hang of the process, then branch out to bigger content mods when you feel comfortable. You'll be surprised at how much fresh content you can add to a game you've been playing for years.