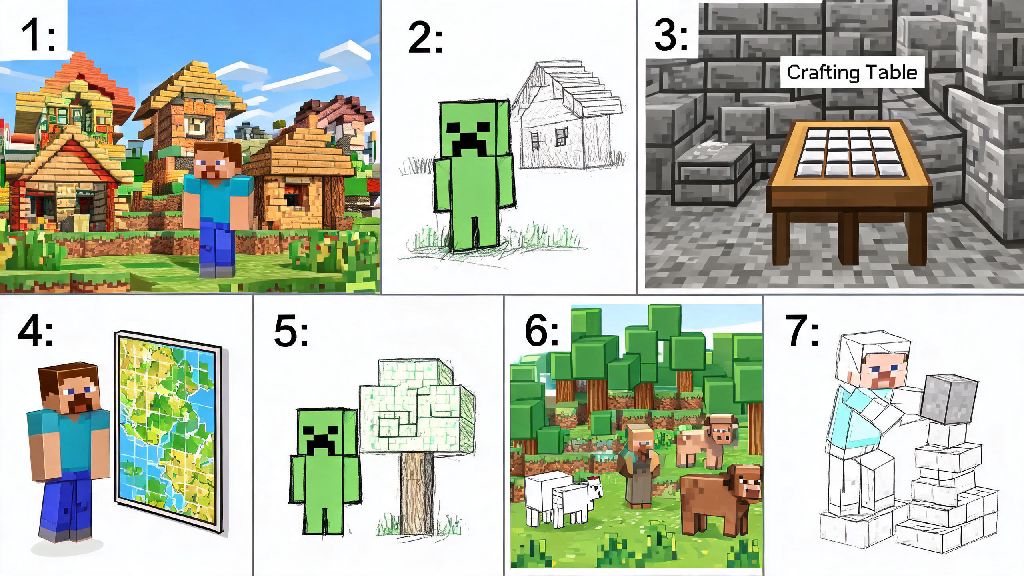
If you’ve ever scribbled a blocky creeper on your notebook during class, or wanted to recreate your favorite survival base on paper, you’re far from alone. As a long-time Minecraft fan who spent years struggling to get the game’s signature blocky proportions right, I’ve tested dozens of tricks to make the process simpler for people with zero formal art training. Learning how to draw Minecraft characters, mobs, and builds doesn’t require fancy supplies or natural art talent – all you need is a little patience and a few easy rules to follow. This guide breaks down everything you need to know to make drawings that look straight out of the game, no prior experience required.
Core Rules to Follow When Learning How to Draw Minecraft
The entire Minecraft aesthetic is built on one simple rule: everything is made of equal-sized, right-angle blocks. There are no soft curves, uneven edges, or irregular shapes in the official game design, and sticking to that rule will make even your roughest sketches feel authentic. I still remember my first attempt at drawing Steve back in 2012, where I made his arms the same width as his body and added rounded edges to his head – it looked nothing like the character, and I got frustrated enough to quit for months. Once I learned these core rules, I was drawing recognizable mobs and builds in an afternoon.
Most common mistakes new artists make can be avoided by keeping these three rules top of mind:
Every element in Minecraft is built from equally sized, right-angle blocks, so start every sketch by mapping out large block shapes first before you add any small details. For example, if you’re drawing a character, start with a square for the head, a taller rectangle for the body, and smaller rectangles for the arms and legs before you add eyes, clothing, or accessories. Always start with light pencil guide lines before adding permanent ink or color – you can erase any uneven edges easily before you commit to the final design.
How to Draw Popular Minecraft Mobs in 5 Simple Steps
Mobs are the most popular thing to draw for new artists, and creepers are the perfect starting point because they have very few moving parts. I always recommend starting with creepers for people who have never drawn any Minecraft art before, because you don’t have to worry about arms, legs, or complex facial features. To draw a basic creeper, start with a 6x6 square for the head, then attach a 6x10 rectangle directly below it for the body. Add four 3x4 rectangles to the bottom of the body for legs, and you’ve already got the base shape done.
For the face, add two 2x1 horizontal rectangles near the top of the head for eyes, a 2x3 vertical rectangle in the middle for the nose, and a jagged rectangular pattern below the nose for the iconic creeper mouth. Creeper mobs have no visible arms, so skip adding extra blocks to the sides of their body – this is one of the most common mistakes new artists make. When you add color, use a muted, gray-green for the body, darker green for the mouth jagged edges, and black for the eyes and nose. You can add small lighter green splotches across the body for extra texture if you want it to look more like the in-game model.
Once you master creepers, you can move on to more complex mobs like endermen, villagers, or even the warden using the same block-stacking method. For endermen, just make the body and arms twice as tall as a creeper’s, and use dark purple and black for the color palette. If you get stuck, pull up a screenshot of the mob in game to reference proportions as you draw – even professional fan artists do this all the time.
Tips for Drawing Custom Minecraft Builds Accurately
Many people who search for how to draw Minecraft want to recreate their own in-game builds, not just pre-made characters and mobs. I get dozens of messages every month from people who want to draw their first survival base, their massive creative mode castle, or even their whole survival world, and the process is a lot simpler than you might think. The biggest mistake people make when drawing builds is starting with small details like windows or torches first, instead of mapping out the overall shape of the structure.
Count in-game blocks first if you’re recreating an existing build to avoid proportion mistakes. You can pull up the coordinates menu in game to measure exactly how tall, wide, and long each part of your build is, then scale those numbers down for your drawing. For example, if your castle wall is 20 blocks tall and 50 blocks wide in game, you can make each 10 in-game blocks equal to 1 inch on your paper to keep proportions accurate. If you don’t want to mess with measurements, you can draw your build from a straight-on front view, which removes the need for complex perspective rules.
If you want your build drawing to look more dynamic, you can use the same isometric perspective the game uses for menu icons. All you have to do is draw each block’s top edge at a 45-degree angle, and make the side edges half the length of the front edges. This makes your drawing look like it’s pulled straight out of the game, without requiring you to learn complex 3D drawing rules. Add small personal details like your pet wolf sitting by the front door, or a chest outside your mining entrance, to make the drawing feel unique to your world.
Tools That Make Drawing Minecraft Easier for Beginners
You don’t need to spend hundreds of dollars on art supplies to make great Minecraft art. I’ve made some of my favorite drawings with a basic HB pencil, a cheap eraser, and a pack of dollar store colored pencils. The only supply I recommend investing in is a soft, non-smudging eraser – cheap erasers will leave gray marks on your paper or tear through the surface when you erase guide lines. You don’t need expensive art supplies to create high-quality Minecraft drawings, so don’t let a lack of fancy tools stop you from starting.
If you’re drawing with kids, grid paper is a game changer. You can print free grid paper online, and have them fill in each square to make block shapes, which removes the stress of drawing even squares freehand. I’ve used this method with my 7-year-old cousin, and he was able to draw a perfect creeper on his first try without any help. For people who prefer digital drawing, free tools like Krita have pre-made square brush presets that let you click to add blocks, so you don’t have to draw each shape manually.
If you want to add color to your drawings, standard colored pencils or alcohol markers work great. Just make sure you test colors on a spare piece of paper first to make sure they match the game’s palette – creepers don’t use bright lime green, for example, so test a few muted green shades before you color your whole drawing. For markers, always apply lighter colors first, then add darker shades on top to avoid smudging or bleeding through the paper.
At the end of the day, the best part of learning how to draw Minecraft is that there’s no “wrong” way to do it if you’re having fun. You can stick strictly to the game’s official designs, or add your own twists like rainbow creepers or custom character skins to make your art unique. Don’t get discouraged if your first few drawings look a little off – even the most popular Minecraft fan artists started with messy, uneven block sketches. Grab a pencil and paper today, and try drawing your favorite mob or build first – you might be surprised at how good it turns out.