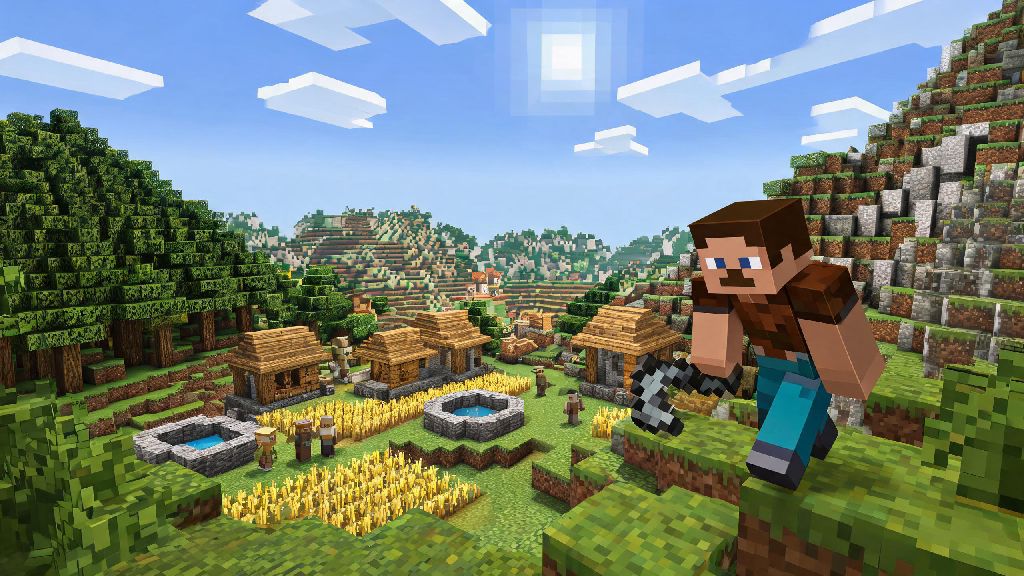
I still remember my first few Minecraft survival worlds where I wandered for weeks looking for a single villager, only to stumble on a whole village hidden between two mountain biomes right as I was about to give up. If you’ve been trekking across biomes with no luck, learning how to find villagers in Minecraft doesn’t have to be a shot in the dark. Whether you want to set up a trading hall, get cheap enchanted gear, or populate a custom build you’ve spent hours on, these tested methods work no matter what game mode you play. You don’t need to use cheats or mods unless you want to, and every tip I’m sharing comes from hundreds of hours of playing both single-player and multiplayer survival worlds.
How to Find Villagers in Minecraft by Scouting Natural Villages
If you’re sticking to vanilla survival without cheats, how to find villagers in Minecraft most efficiently is to cut out any useless biomes from your scouting route first. Villages only spawn in specific biomes, so you won’t waste hours wandering areas where they can never generate. Prioritize flat, open biomes first like plains, deserts, and savannas, since village structures are easy to spot from far away without trees or steep hills blocking your view.
For example, if you spawn near a desert, you’ll be able to spot sandstone village structures from hundreds of blocks away, no climbing required. But if you spawn near a taiga, you’ll want to climb the tallest spruce tree you can find to see over the leaves, as taiga villages often get hidden under tree canopies. Villages never spawn in deep dark, badlands, or jungle biomes so you can skip those entirely to save time. If you have an elytra and fireworks already, flying over terrain at y-level 120 will let you spot villages in minutes, even in more forested biomes.
Most natural villages spawn with at least 2 villagers, and larger villages can have 10 or more. If you find a village that looks abandoned, check nearby caves for zombie villagers, as raiders or zombie sieges sometimes wipe out living villagers but leave zombie variants behind that you can cure.
Cure Zombie Villagers to Grow Your Own Population
If scouting isn’t working for you, this method works even better than learning how to find villagers in Minecraft the traditional way, especially if you’re building a base far from common village spawn biomes. Roughly 5% of all zombies that spawn naturally are zombie villagers, so you won’t have to look too long to find one even if there are no villages nearby. I’ve used this method multiple times to set up trading halls in skyblock worlds where natural villages don’t spawn at all, and it’s saved me dozens of hours of looking for a way to get enchanted books.
To cure a zombie villager, you’ll need one splash potion of weakness and one regular golden apple. Make sure you trap the zombie villager first before curing it so it doesn’t run away, burn in sunlight, or get attacked by other mobs while it transforms. A simple 3x3 dirt enclosure with a roof works perfectly for this, no fancy builds required. Throw the splash potion of weakness at the zombie villager, then right click it with the golden apple, and you’ll see red particles appear around it to confirm the cure started.
It takes between 2 and 5 minutes for the zombie villager to turn into a regular villager, so stay nearby to make sure nothing interrupts the process. The best part of this method is that cured villagers give you massive discounts on trades, sometimes cutting the cost of enchanted books or diamond tools down to a single emerald. If you’re playing on hard difficulty, zombies have a 100% chance to turn villagers into zombie villagers when they kill them, so you can even use this to repopulate a village that got wiped out by a raid.
Use Creative Mode or Commands to Locate Villages Fast
If you’re playing in creative mode, or have cheats enabled in your survival world, you can skip the entire scouting process entirely and find villagers in seconds. The /locate village command works for both Java and Bedrock editions, and will give you the exact coordinates of the nearest village to your current position. This command works in both Java and Bedrock editions so you don’t have to look up different syntax for each version of the game.
In creative mode, you can also fly at y-level 150 or higher and scan the terrain for village structures, which is faster than running or flying low to the ground. You can even grab villagers from the creative menu and place them directly in your builds if you don’t want to go through the trouble of moving them from a natural village. Just keep in mind that these methods only work if you have cheat access, so they won’t work on most public survival servers unless you’re an admin.
If you don’t have cheats enabled but still want a little help, you can use in-game maps to spot flat open areas that are more likely to have villages. Cartographer villagers also sell woodland mansion and ocean monument maps, but they don’t sell village maps, so that trick won’t work for locating villagers.
What to Do After You Find Your First Villagers
Finding your first villagers is only half the battle, you’ll need to take a few quick steps to make sure they stay safe and grow their population so you can unlock all the trades you want. Skip these steps, and you might come back from a mining trip to find your whole village wiped out by creepers or a zombie siege. The first four things you should do immediately after finding villagers are:
You should never leave villagers unprotected for more than one in-game night because even a small group of zombies can break down wooden doors and kill the whole population if there’s no barrier around the village. If you want to move villagers to a different location, like a custom trading hall you built near your base, you can use a boat or minecart to transport them easily. Just push the villager towards the boat, and they’ll get in automatically, no leads required. You can even carry boats over land by breaking and placing them again if you’re moving villagers up hills or across terrain that’s too rough to row through.
Once your population hits 10 or more villagers, you’ll want to add at least one bell to the center of your village to let villagers gather and hide inside during raids. You can find bells in natural villages, or craft them with 4 iron ingots and 1 gold ingot if you don’t want to go back to the original village you found.
Finding villagers doesn't have to take weeks of wandering across random biomes if you use the right method for your play style. If you prefer vanilla survival with no cheats, scouting open biomes or curing zombie villagers will get you the population you need in no time. If you're playing creative or have cheats enabled, you can skip the grind entirely and get straight to building your trading hall or custom village. No matter what you plan to use them for, knowing how to find villagers in Minecraft opens up a ton of new gameplay options you won't get playing entirely alone.