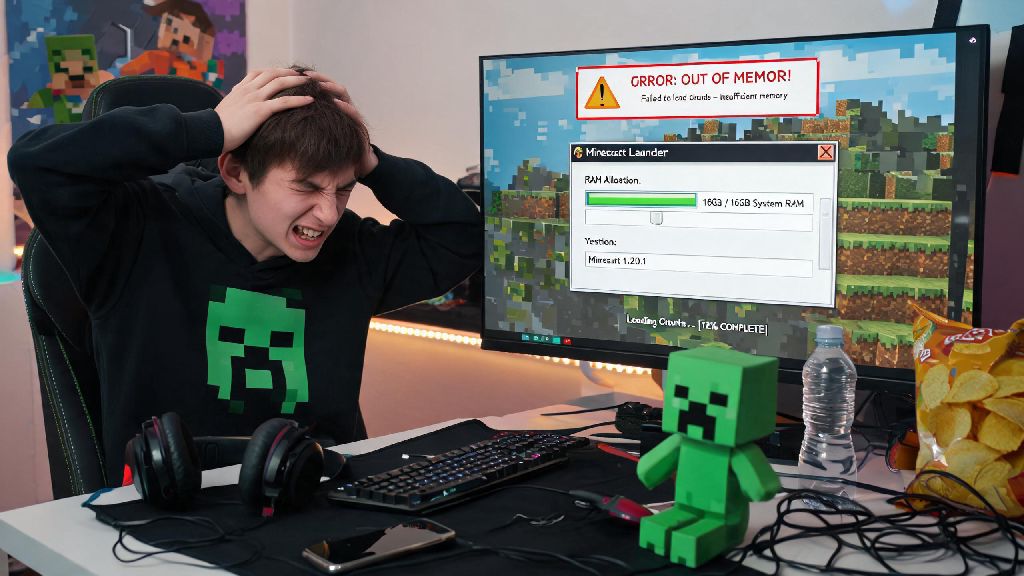
You’re mid-exploration in your favorite modded Minecraft world, and suddenly the game freezes, chunks load at a snail’s pace, or you get the dreaded “out of memory” crash that erases the last 20 minutes of progress. If that sounds familiar, learning how to give Minecraft more ram is one of the fastest fixes for most performance issues tied to large modpacks, custom built worlds, or high-resolution texture packs. I’ve had this happen dozens of times when testing new modpacks, and I used to make the mistake of dumping all my extra RAM into the game before I learned that balance is key. By default, Minecraft only allocates 2GB of RAM, which works perfectly for vanilla play, but anything extra requires a quick manual adjustment. This guide works for all common launchers, and we’ll cover safety tips so you don’t accidentally slow down your entire system.
How to Give Minecraft More RAM: Pre-Configuration Checks You Can’t Skip
Before you change any settings, you need to confirm a few details about your system and your Minecraft setup to avoid making performance worse. First, figure out how much total RAM your PC has installed. On Windows, you can find this in the System section of Settings; on Mac, it’s in the About This Mac menu. You never want to allocate more than 50% of your total RAM to Minecraft, because your operating system and other background apps need memory to run too. Never allocate more than 8GB of RAM to Minecraft unless you’re running a 200+ mod modpack or a public server for 10+ players. More RAM isn’t always better, as we’ll cover later. You also need to confirm you’re running 64-bit Java, because 32-bit Java can’t support allocations over 4GB even if you have extra memory available. Run through this quick checklist before you make any changes:
Step-by-Step RAM Allocation for Popular Minecraft Launchers
The process for adjusting RAM changes slightly depending on which launcher you use, but all options take less than two minutes once you know where to look. For the official Minecraft launcher, start by opening the launcher and clicking the “Installations” tab at the top. Find the installation you want to adjust (it could be vanilla Minecraft or a modded version you’ve set up manually), click the three dots on the right, and select “Edit”. Scroll down to “More Options” and you’ll see a line of text under JVM Arguments that starts with -Xmx2G – the number after Xmx is the current maximum RAM allocated, measured in gigabytes. Change that number to the amount you want, for example -Xmx4G for 4GB or -Xmx8G for 8GB. Always leave the rest of the JVM arguments as they are unless you know exactly what you’re modifying, because changing other values can cause crashes or performance issues. Click save, and you’re done.
For third-party modded launchers like CurseForge or Prism Launcher, the process is even simpler, no code edits required. For CurseForge, find the modpack you want to adjust, click the three dots next to the play button, select “Profile Options”, and toggle off “Use System Memory Settings”. You’ll see a slider you can drag to your desired RAM amount, and the launcher will automatically apply the change when you launch the pack. For Prism Launcher, select the instance you want to edit, click “Edit” on the right sidebar, go to the “Java” tab, and adjust the “Maximum Memory” slider to your preferred amount. These steps are almost identical across Windows, Mac, and Linux, since the launcher interfaces are the same for all operating systems.
Common Mistakes to Avoid When Allocating RAM to Minecraft
It’s easy to make small errors that can leave you with worse performance than you started with, or even crashes that stop the game from launching at all. The most common mistake I see new players make is allocating way too much RAM, assuming more will equal faster performance. That’s not how Java (the program Minecraft runs on) works. If you allocate too much RAM, Java will run garbage collection cycles (the process of clearing unused memory) less often, but when it does run them, the game will stutter for several seconds at a time. I once allocated 12GB of RAM to a small 50-mod modpack on my 16GB PC, and the game stuttered way more than when I had 4GB allocated, because Java was holding onto too much unused memory instead of clearing it regularly. If you notice more lag after increasing RAM, you’ve probably allocated too much for your setup, and you should lower it by 1-2GB to find the sweet spot. Another common mistake is editing the wrong installation or profile. A lot of players have multiple versions of Minecraft installed, and they adjust the RAM for 1.20 vanilla but then try to launch a 1.19 modpack, so nothing changes. Always double check you’re editing the profile for the version of Minecraft you actually plan to play. If you’re running a local server for you and your friends, don’t forget that client RAM allocation doesn’t apply to the server. RAM allocation for a Minecraft server is handled in the server’s startup batch file, not your client launcher, so you’ll need to edit that file separately to give the server more memory. Finally, don’t forget to save your changes before exiting the launcher settings, it sounds obvious but it’s one of the most common reasons players think their allocation didn’t work.
How to Tell If Your RAM Allocation Is Working Correctly
Once you’ve adjusted your settings, it’s easy to confirm the change worked without having to wait for lag or a crash to happen. The fastest way is to launch Minecraft, load into a world, and press the F3 key to pull up the debug screen. In the top right corner, you’ll see a memory readout that looks something like “1200/6000MB” – the second number is your total allocated RAM, so if that matches the number you set in your launcher, the change worked. If you’re using a modded launcher like CurseForge or Prism, you can usually check without launching the game too: most modded launchers show the allocated RAM right on the instance or profile page, under the settings menu. If the number still shows 2GB (the default allocation), go back and double check that you saved your settings, edited the correct profile, and are running a 64-bit version of Java that matches your Minecraft version. If you’ve confirmed the allocation worked but you’re still getting lag, the issue probably isn’t RAM. You might have a broken mod, outdated graphics drivers, or your render distance set higher than your GPU can handle. RAM allocation only fixes memory-related crashes and slow chunk loading, not all performance issues. If that’s the case, you can try adding optimization mods like Sodium or FerriteCore to cut down on resource usage without upgrading your hardware.
At the end of the day, learning how to give Minecraft more ram is a simple tweak that can drastically improve your gameplay experience, especially if you love playing with mods or building huge custom worlds that take a lot of resources to load. You don’t need any advanced tech skills to do it, as long as you follow the pre-checks and avoid the common mistakes we covered. Start with small increments if you’re unsure, test the performance after each change, and you’ll find the sweet spot for your specific setup in no time. If you still run into issues after adjusting your RAM, you can look into lightweight modpacks or lower resolution texture packs to reduce the overall load on your system, even with limited memory available.