If you’ve ever spawned in a dark Minecraft forest at dusk with creepers hissing just out of sight, you know there’s one tool you need faster than anything else to stay alive. Learning how to make the sword in Minecraft is non-negotiable for new players, but even long-time fans often miss small tricks to make their swords far more powerful than basic wooden or iron variants. I’ve been playing Minecraft for over 10 years, and I still keep a quick cheat sheet of sword crafting and upgrade steps handy for new survival worlds, because fumbling with the crafting menu when a zombie is 2 blocks away is a mistake you only make two or three times. This guide will walk you through every step of crafting, upgrading, and using your sword, plus common mistakes to avoid so you never get caught off guard.
Materials You Need to Craft Every Type of Minecraft Sword
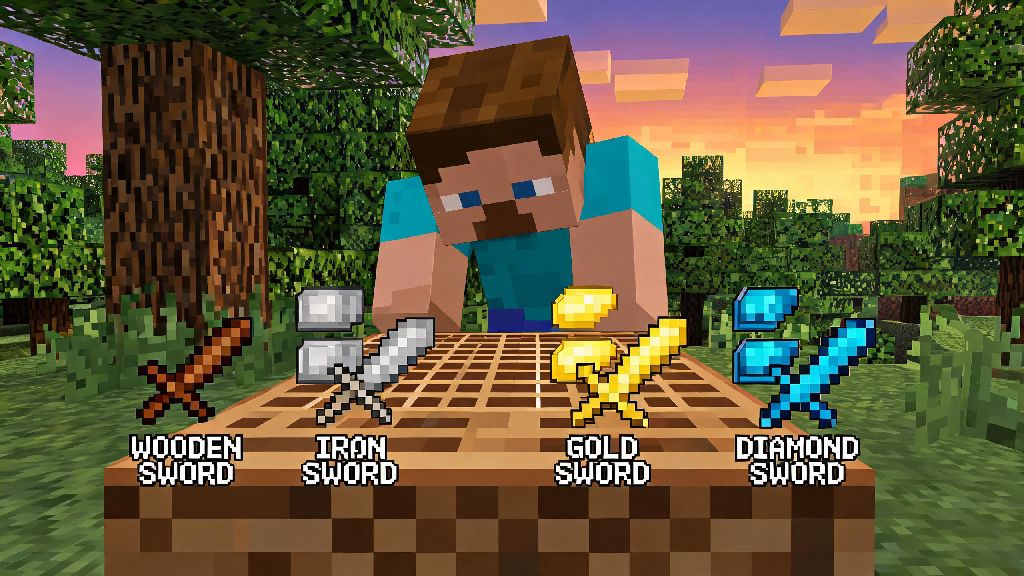
Not all swords are created equal, and the materials you use will determine how much damage your sword deals, how long it lasts, and even whether it can take certain enchantments later on. You can make a sword out of 6 different materials in vanilla Minecraft, each with their own pros and cons for different play styles. If you’re only learning how to make the sword in Minecraft for the first time, start with a wooden or stone sword until you collect enough iron to make a more durable option. If you’re playing in survival mode, you’ll want to work your way up from lower tier materials to higher ones as you collect more resources, since higher tier swords last 10x longer than basic wooden ones in most cases. Here’s a full breakdown of required materials for each sword type:
You don’t need a fancy crafting setup to make most of these swords, either. All you need is a standard 3x3 crafting table, which you can make with 4 wood planks in your personal 2x2 crafting grid as soon as you spawn. The only exception is the netherite sword, which you’ll need to upgrade using a smithing table, plus a netherite upgrade template that you can find in bastion remnants in the Nether.
Step-by-Step Process to Make the Sword in Minecraft
Crafting a sword is one of the simplest recipes in the game, but if you’re brand new to Minecraft, it’s easy to arrange the materials wrong and waste resources you worked hard to collect. I’ve seen dozens of new players accidentally make a shovel or a pickaxe instead of a sword because they mixed up the order of items in the crafting grid, so follow these steps exactly to get it right first try. First, open your 3x3 crafting table so you can see all 9 slots. Place 1 stick in the very center of the bottom row of the crafting grid. Next, place your two tier materials (wood planks, cobblestone, iron ingots, etc.) in the center slot of the middle row, and the center slot of the top row. That’s it – you’ll see the sword appear in the result slot on the right side of the crafting menu, which you can drag straight to your inventory or hotbar.
If you want to upgrade to a netherite sword later, the process is slightly different. You’ll place your existing diamond sword in the left slot of a smithing table, put the netherite ingot in the slot next to it, and the netherite sword will pop up in the result slot. Just make sure you have a netherite upgrade template in the smithing table first, or you won’t be able to complete the upgrade – that’s a new requirement added in recent updates that a lot of long-time players still forget about. Pro tip: Keep at least one extra iron sword in your chest at your base at all times, so you have a backup if your main sword breaks mid-fight in a cave or the Nether.
Best Enchantments to Boost Your Sword’s Power
A basic unenchanted sword will get you through your first few nights, but once you start exploring more dangerous areas like the Nether or the End, you’ll need enchantments to stay alive. Enchantments can make your sword deal extra damage, set mobs on fire, make them drop more loot, or even repair themselves as you gain experience points. Once you know how to make the sword in Minecraft, investing a few experience points into enchantments will turn a basic weapon into a game-changing tool. You don’t have to add every enchantment available, though – some are practically useless for swords, and you’ll waste experience points if you add them by accident.
The most useful enchantments for any sword, regardless of tier, are: Sharpness V, which adds 3 extra hearts of damage to every hit, and works on all mobs and other players. Fire Aspect II, which sets mobs on fire for 4 seconds, dealing extra damage over time, and will automatically cook any meat drops from animals you kill. Unbreaking III, which makes your sword last 3x longer than its base durability, so you won’t have to craft new ones nearly as often. Mending, which uses any experience orbs you collect to repair your sword’s durability, so a Mending sword can last you forever if you take care of it. If you’re playing on a PvP server, you can also add Knockback II to push other players away from you, or Sweeping Edge III to deal extra damage to multiple mobs at once when you swing. Just avoid enchantments like Silk Touch or Fortune on swords – they don’t do anything useful for weapon attacks, and you’re better off saving those for your pickaxes and shovels.
Common Mistakes to Avoid When Using Your Minecraft Sword
Even if you craft the best possible netherite sword with every top-tier enchantment, you can still waste its potential or lose it entirely if you make these common mistakes. First, don’t use your sword to break blocks. It might feel faster to slash through leaves or cobwebs with a sword, but every block you break uses up durability that you could save for fighting mobs. Use shears for leaves and cobwebs instead – they’re far cheaper to craft and replace if they break. Second, don’t bring your best sword to areas where you might lose it forever, like the deep dark or the End, unless you’re 100% confident you can get back to your spawn point if you die. I once lost a fully enchanted netherite sword in the void under the End islands because I got knocked off by an enderman, and I still haven’t gotten over it.
Keep a cheaper iron or diamond sword for risky trips, and save your top-tier sword for base defense or boss fights. Third, don’t forget to switch to your sword when you’re exploring dark areas. A lot of players keep their pickaxe out while mining, and get caught off guard by a creeper or zombie before they can switch to their weapon. Keep your sword in the first slot of your hotbar so you can switch to it with one press of a button if you get ambushed. That small habit alone will save you from dozens of unnecessary deaths.
At the end of the day, crafting a sword is one of the first and most important skills you’ll learn when you start playing Minecraft, and mastering how to make the sword in Minecraft plus upgrade it properly will make every part of the game far more fun and far less frustrating. You don’t need rare resources to make a useful sword early on, and even a basic iron sword with a couple of low-level enchantments will get you through most of the game’s early challenges. Take the time to experiment with different enchantments to find what works best for your play style, and don’t be afraid to make a few extra swords to keep around your base, in your mine shaft, or in your Nether portal chest for easy access. You’ll be taking down ender dragons and withers before you know it.