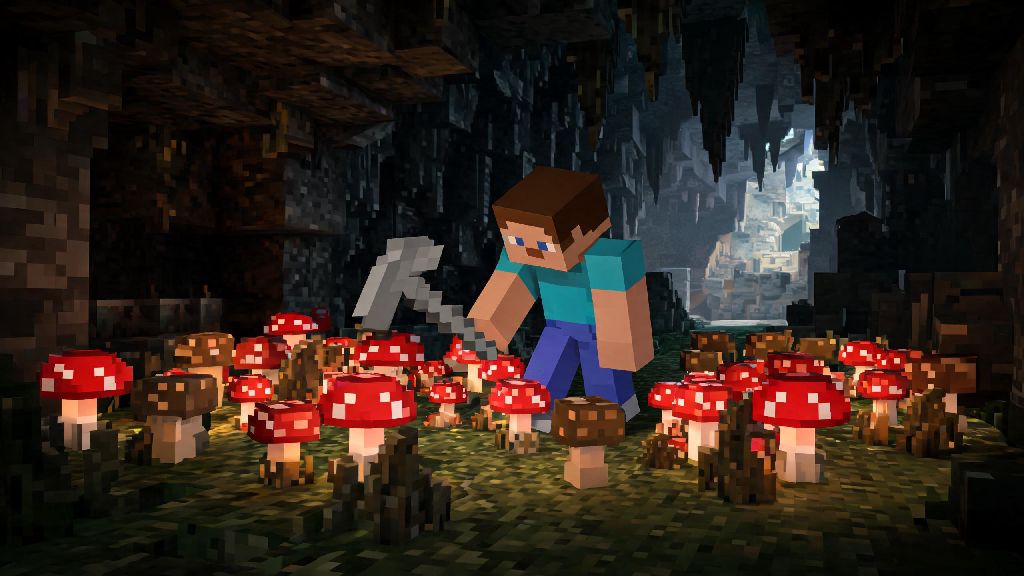
If you’ve ever wandered through a dark Minecraft cave or trundled under a giant oak tree at night and spotted glowing red or brown mushrooms popping out of the ground, you’ve probably wondered what you can do with them beyond just making suspicious stew. Knowing how to grow mushrooms in Minecraft is one of the most underrated basic skills for both new and veteran players, whether you’re playing a hardcore survival world or just decorating a fantasy build in creative mode. Mushrooms don’t just make great food sources that don’t require constant replanting like wheat or carrots, they also are key ingredients for fermented spider eyes, healing items, and even custom building accents for forest or cave builds. I first started farming mushrooms after I got stranded in a snow biome with no cows, no seeds, and only three red mushrooms I found in a small cave. That tiny farm kept me alive for two in-game weeks until I found my way back to my main base, so I’ve been a big fan ever since. I’ve tested every method out there to find the most low-effort, high-yield options for every play style.
What You Need Before You Learn How to Grow Mushrooms in Minecraft
Mushrooms have far fewer requirements than most other Minecraft crops, so you can get started with almost no resources if you’re in the early game. The only non-negotiable is at least one starter mushroom, which you can find in dark caves, swamps, dark forest biomes, or even scattered across the Nether. You don’t need any special tools to harvest them, just punch them like you would any other item to pick them up.
The exact supplies you’ll need depend on what type of farm you want to build, but these are the basics that work for every setup:
One key rule to remember before you start building: small mushrooms have very specific light level requirements to spread. Mushrooms will not spread to adjacent blocks if the light level at the growing spot is above 7, so don’t skip checking light levels if you’re building a small mushroom farm. You can check light levels by pressing F3 to pull up the debug screen, or just test by placing your mushroom and waiting a few in-game hours to see if it starts spreading.
How to Build a Low-Effort Small Mushroom Farm for Survival
If you just need a steady supply of mushrooms for stew or potion crafting, a small spread farm is the easiest option to build, especially in the early game. All you need is a 3x3x3 enclosed space, lined with any solid block on the floor. You can build it underground, inside your base, or even above ground as long as you add a solid roof to block out sunlight. Leave a single door for access, so you can get in to harvest without letting extra light in.
Place your starter mushroom right in the center of the floor, and you’re almost done. You don’t need to water mushrooms or till the ground like you do for other crops, which makes them perfect for early game survival when you don’t have iron for a hoe yet. If you’re worried about mobs spawning inside the dark farm, place torches on the inside walls at eye level instead of on the floor. That keeps the light level on the floor below 7 for mushroom growth, but bright enough to stop zombies, creepers, and spiders from spawning.
I usually build these small farms right next to my early game base’s mining entrance, so I can grab a few mushrooms every time I head out to mine. I don’t have to check on them every day, and I never run out of ingredients for mushroom stew when I run low on other food. The only downside of this setup is that it’s slow – you’ll only get 1 to 2 new mushrooms per in-game day, so it’s not ideal if you need large quantities fast.
Growing Huge Mushrooms for Mass Yields
If you need a lot of mushrooms fast, whether to feed a group of friends on a multiplayer server or stock up for a long Nether exploration trip, growing huge mushrooms is the best method. A single huge mushroom can drop up to 20 small mushrooms when broken, so you can get weeks of supplies in just a few minutes of work.
To grow a huge mushroom, plant your small starter mushroom on dirt, grass, podzol, mycelium, or moss blocks. Unlike small mushrooms, huge mushrooms can be grown in full daylight, as long as there is enough space above and around the small mushroom for the huge variant to generate. You’ll need at least 7 blocks of empty space above the small mushroom, and 2 blocks of empty space on all four sides, otherwise the bone meal won’t work and you’ll waste resources.
Once your mushroom is planted and you have enough space, just right click it with bone meal until it grows into a huge mushroom. Break all the mushroom blocks with any tool, and you’ll get a flood of small mushrooms to collect. If you use shears to break the blocks instead of a pickaxe or sword, you’ll get the full decorative mushroom blocks instead of small mushrooms, which are great for building fairy houses, cave decor, or even custom roof designs. If you’re playing on a multiplayer server and need to feed a large group of players, a huge mushroom farm is the way to go. I once built a small podzol patch with 10 mushroom spawn spots, and 10 minutes of bone meal use gave me enough mushrooms to feed 8 players for an entire server event.
Common Mushroom Farming Mistakes to Avoid
Even though mushroom farming is pretty straightforward, there are a few common mistakes that new players make that can stop their farm from working entirely. The first and most common mistake is placing torches on the floor of small spread farms. I made this mistake once when I first started farming: I placed a torch on the floor of my small mushroom farm to stop creepers from spawning inside, and I didn’t get a single new mushroom for three in-game days. Once I moved the torch up to the wall, the mushrooms started spreading again within 20 minutes.
Don’t plant mushrooms on transparent blocks like glass or leaves, because they won’t spread or grow into huge variants no matter what you do. The game only recognizes solid, opaque blocks as valid growing surfaces for mushrooms, so stick to dirt, cobblestone, or netherrack if you want your farm to work. Another common mistake is not leaving enough space for huge mushrooms to grow. If you’re trying to grow huge mushrooms inside a base, make sure you measure the height first – a 5 or 6 block high ceiling will make growth impossible every time.
You also don’t want to harvest your starter mushroom in a small spread farm. If you break the original mushroom you planted, you’ll have to find a new one to restart the farm, so always leave at least one mushroom in place to keep spreading. You can grow mushrooms in the Nether or End dimension with no extra tweaks, which makes them a perfect food source for long exploration trips away from your overworld base. Just build a small enclosed farm near your portal, and you’ll have a steady supply of food without having to carry stacks of steak or carrots with you.
Mushroom farming is one of the most flexible, low-maintenance food and resource sources you can add to any Minecraft world, no matter your play style. You don’t need fancy gear or rare materials to get started, and even a tiny 3x3 farm can keep you stocked with stew for months of in-game time. If you’re tired of replanting carrots or chasing cows for steak every week, give this method a try. Now that you know how to grow mushrooms in Minecraft, you can start planning your farm the next time you log into your world. Don’t forget to test both small and huge mushroom farms to see which one fits your needs best.