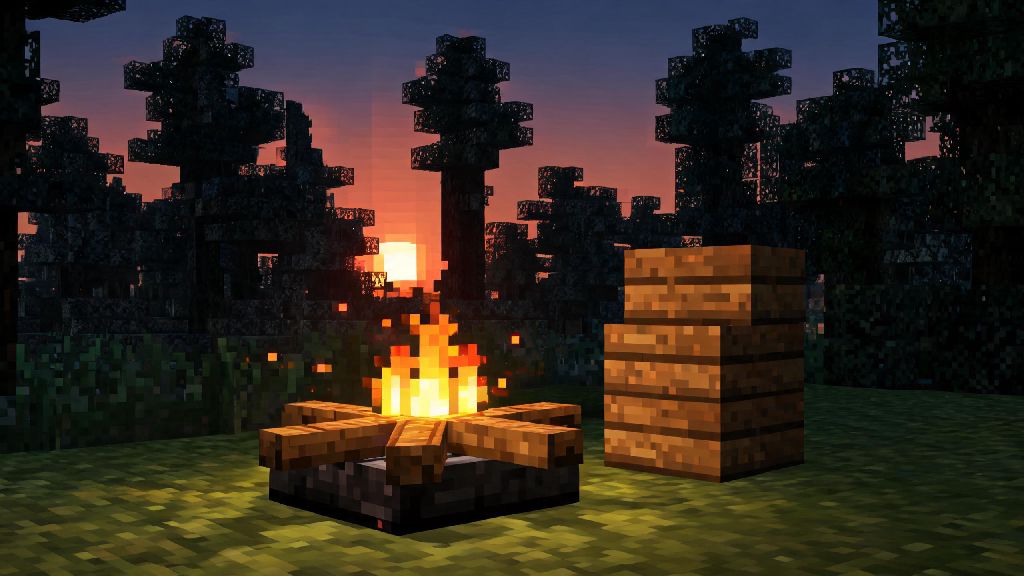
If you’ve ever spawned in a dark Minecraft forest as the sun dips below the horizon, you know how urgent it is to get a reliable light source up fast. Knowing how to make a campfire in Minecraft is one of the first core skills every new player should pick up, and it’s useful even for veteran players who want to add cozy details to their bases or streamline their survival runs. It doesn’t require super rare materials, and it has way more uses than most new players realize, from cooking raw food without a furnace to repelling certain hostile mobs. I’ve used campfires to mark safe paths through mountain biomes, cook stacks of salmon after a long fishing trip, and even create fake chimney smoke for my cottage builds, so I can walk you through every part of the process without any confusing jargon.
How to Make a Campfire in Minecraft: Exact Crafting Recipe Steps
Crafting a campfire is one of the simplest early-game recipes, and you can pull it off within your first 10 minutes of spawning if you collect the right materials quickly. You only need three core items to make a standard campfire: 3 sticks, 1 piece of charcoal or coal, and 3 logs or wood of any type. You don’t have to use matching wood types, and stripped wood or even stripped logs work exactly the same as regular logs, so you can use whatever you have on hand.
To assemble the recipe, open your 3x3 crafting grid. Place your piece of charcoal or coal in the middle slot of the second row. Put one stick in the slot directly above the coal, one to the left of the coal, and one to the right of the coal. Finally, fill all three slots of the bottom row with your three logs or wood pieces. You’ll get one campfire as the output, which you can move to your inventory and place anywhere you want.
If you want to make a soul campfire instead, you can swap the coal or charcoal for a piece of soul soil or soul sand, which you can find in the Nether. Soul campfires have a unique blue glow and extra properties that make them ideal for specific use cases, which we’ll cover next. You can also find pre-placed campfires naturally in taiga villages, snowy tundra villages, and some ancient city structures, but crafting your own is almost always faster than searching for a natural spawn.
Key Differences Between Regular and Soul Campfires
Most new players don’t realize there are two types of campfires, and picking the right one for your situation can save you a lot of hassle later. Regular campfires are the best option for most early-game use cases. They put out a light level of 15, which is the same as a torch or glowstone, so they’ll keep hostile mobs from spawning within a 15-block radius. They also cook food faster than soul campfires, taking 30 seconds per item compared to 60 seconds for the soul variant.
Soul campfires are less common but incredibly useful for specific builds and biomes. They put out a lower light level of 10, but they deal twice as much damage to any mobs or players that stand on them, making them a great choice for mob traps. They also automatically repel piglins, so you can place them around your Nether base to keep piglin raiders from stealing your items without having to wear gold armor 24/7. Their blue flame also adds a spooky, magical vibe to fantasy builds or haunted house projects in creative mode.
One important note applies to both types: neither campfire will melt ice or snow blocks, even if you place them directly next to the ice. I made this mistake on my first tundra survival world, when I placed a ring of campfires around my base thinking they’d keep my paths clear of snow, only to wake up to 3 inches of snow covering every walkway. If you need to melt ice, you’ll have to use torches, lanterns, or furnaces instead.
Practical Uses for Campfires Beyond Basic Light
A lot of new players only use campfires for light, but they’re one of the most versatile early-game items you can craft. I’ve used them for all sorts of tasks across my survival worlds, and these are the most useful use cases to keep in mind:
You can also use campfires to create custom traps for hostile mobs. I once built a zombie farm with a drop chute that landed mobs directly on a row of soul campfires, which killed them slowly and dropped all their loot without me having to lift a sword. It’s a low-effort farm that works great for new players who don’t have the materials for more complex redstone builds yet.
Common Campfire Mistakes to Avoid
Even though campfires are pretty straightforward to use, I’ve made my fair share of mistakes with them over the years, so these are the top errors to skip if you want to save yourself frustration. First, don’t place campfires directly under any wooden blocks you don’t want to break. While the fire from campfires doesn’t spread, the heat will slowly damage and break wooden blocks placed directly above them after a few minutes. I learned this the hard way when I placed a campfire under my oak cottage porch and came back from mining to find half my porch gone.
Second, don’t break a campfire if you just want to turn it off temporarily. You can put out a lit campfire by right-clicking it with a shovel, or pouring a water bucket on it, and you can relight it later with a flint and steel or fire charge. This is super useful if you only need the campfire for cooking during the day, and don’t want the smoke blocking your view of your base at night.
Third, you can’t cook food on a campfire that’s been put out, so if you’re trying to process meat and it’s not working, double check that you’ve lit it first. It sounds obvious, but I’ve wasted 10 minutes waiting for raw chicken to cook on an unlit campfire before, so it’s an easy mistake to make when you’re distracted. Also, remember that campfires deal damage to you too if you stand on them, so don’t build your floor out of campfires unless you’re making a PvP trap for other players on a server.
At the end of the day, learning how to make a campfire in Minecraft is a small skill that makes a huge difference in both your early survival runs and late-game creative builds. It’s cheap, versatile, and has way more uses than most players give it credit for, so it’s worth adding to your list of go-to first-day crafting recipes next time you spawn into a new world. Whether you’re using it to cook your first piece of pork, mark your base so you don’t get lost, or add a cozy touch to your cottage core build, it’s a reliable item you’ll come back to again and again.