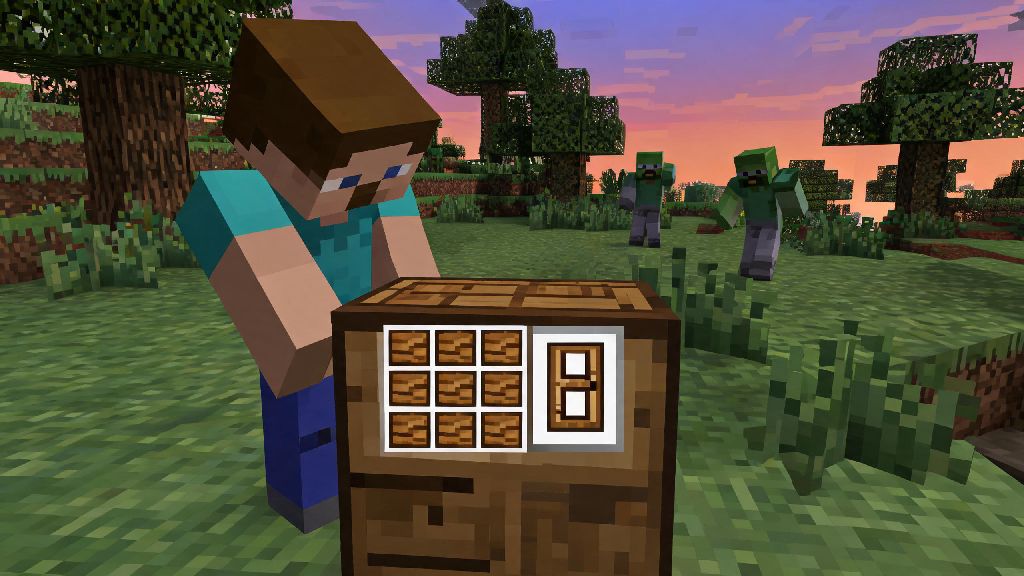
If you’ve ever spawned in a new survival world as dusk starts to paint the sky orange, you know the cold panic of scrambling for shelter before creepers start hissing just out of your line of sight. One of the first functional builds you’ll ever make to keep yourself safe? A door, obviously. Learning how to craft a door in Minecraft is one of those core skills that separates new players who get wiped by zombies on their first night from those who get to wake up the next morning and start building their dream base. I still remember my first survival world, where I forgot to add a door entirely and spent 10 minutes blocking and unblocking my 1-block entrance with dirt every time I wanted to go chop more wood. It’s such a tiny, easy-to-miss detail, but it makes all the difference in how smooth your gameplay feels from day one.
What You Need to Know Before You Craft a Door in Minecraft
Doors are not just functional, either. You can use them as decorative pieces for builds like shop fronts, castle gatehouses, or even small interior room dividers. Wooden doors work with both redstone and manual interaction, so you can set up automatic opening systems if you don’t want to fumble with right clicking every time you carry a full inventory of cobblestone. You’ll get 3 doors per crafting recipe, which is usually more than enough for a small starter base. If you’re playing on a public multiplayer server, it’s always a good idea to skip wooden doors for your main base entrance, as other players can open them just as easily as you can. Iron doors are a far safer bet for shared worlds, even if they take a little extra work to set up. You can also mix and match door types across your base to fit different themed areas, no rule says you have to stick to one style for every room.
Step-by-Step Process to Craft a Basic Wooden Door
First, you’ll need to collect at least 1 log from any tree type. Oak, spruce, birch, jungle, acacia, dark oak, warped, or crimson all work. Punch the tree until the log drops, then put the log in your personal 2x2 crafting grid to turn it into 4 planks. You’ll need 6 planks total, so 2 logs will give you more than enough for your first door and a little extra for other builds. Next, open your 3x3 crafting table. If you haven’t made a crafting table yet, you can craft one with 4 planks arranged in a full square in your personal crafting grid. Arrange the 6 planks in two full adjacent columns in the crafting table. For example, fill all three slots in the leftmost column, and all three slots in the middle column, leaving the rightmost column empty. You have to use the same wood type for all 6 planks if you want a standard matching door, but some mod packs do allow mixed wood doors if you’re playing modded. Once you see the 3 door icon pop up in the result slot, click it to move the doors to your inventory. To place the door, stand in front of the entrance to your base, aim at the solid block on the floor where you want the bottom of the door to sit, and right click. The door will place automatically, and you can right click it to open and close as needed. If you place the door while standing outside your base, it will open inward, and if you place it while standing inside, it will open outward. That’s a small trick most new players don’t learn for weeks, but it helps if you don’t want your door swinging into a chest or other furniture inside your base.
How to Make and Use Specialized Door Types for Different Use Cases
Basic wooden doors are great for starter bases, but you’ll probably want to upgrade to more specialized options as you progress through the game. Each door type has its own strengths and ideal use cases, so you can pick the right one for your specific build.
Common Door Crafting Mistakes to Avoid
I’ve made all of these mistakes at least once, so I can tell you first hand how annoying they are to fix in the middle of a survival run. The first and most common mistake is using 5 planks instead of 6 when crafting. I can’t tell you how many times I’ve opened my crafting table in a rush as the sun sets, thrown 5 planks down, and stared at the empty result slot wondering what I did wrong. It’s such a tiny error, but it can cost you valuable time when mobs are already spawning nearby. Another common mistake is placing wooden pressure plates on the outside of iron doors for convenience, but forgetting that zombies, creepers, and even stray cats can step on them too. That means mobs will be able to walk right into your base whenever they feel like it, which is the last thing you want when you’re off mining for diamonds. Always use a button or a hidden pressure plate if you want to keep mobs out of your base. If you really want to use a pressure plate, put it on the inside of the door so you can walk out easily, but no mobs can get in. Third, using wooden doors in the Nether or near lava lakes is a recipe for disaster. Wooden blocks burn, so a single blaze fireball or stray lava spark will set your door on fire and leave your base wide open. Always use nether wood or iron doors for any builds in the Nether, or near any open lava sources in the overworld. The last common mistake is placing your door on a non-solid block like glass, carpet, or a slab. Doors need a full solid block under them to stay placed, so if you try to put a door on top of a carpet, it will pop off as an item immediately. If you want to add carpet near your door, place it after you’ve placed the door, and leave the block directly under the door bare.
At the end of the day, knowing how to craft a door in Minecraft is such a basic skill, but it opens up so many possibilities for your builds. You can go from a tiny dirt hut on your first night to a sprawling castle with custom hidden doors, all starting with that same simple 6-plank recipe. Don’t be afraid to experiment with different door types and placement tricks to make your base feel more personal and functional. You can even test out hidden redstone door designs in creative mode first before you try to build them in your main survival world, so you don’t waste resources on a design that doesn’t work. Next time you spawn into a new world, you’ll be able to get your door up before the first mobs even start spawning, no more panicking with a stack of dirt blocks to block your entrance while creepers hiss outside.